This article outlines the steps to deploy the Senso client using PDQ deploy.
1. Open up PDQ Deploy and select Packages, right-click and select New Package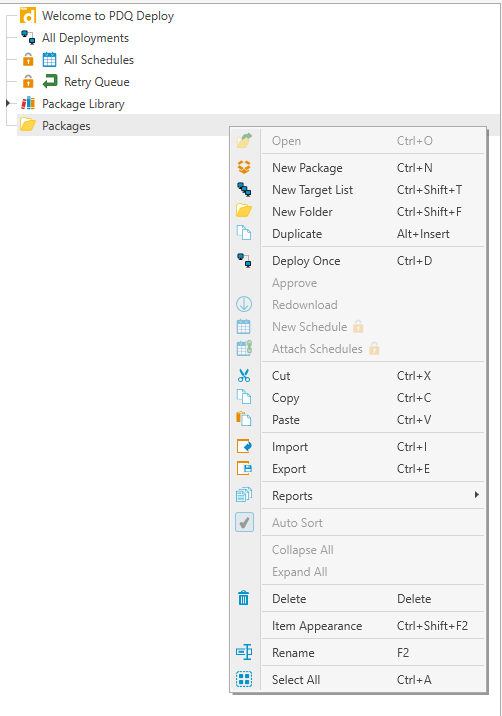
2. Give your Package a suitable name, version and description if you wish.
3. Click on Steps, New Step and then "Install" you will then be presented with the below.
4. Click on the box to right of the install file row, a new pop-out window will display for you to browse too the Senso installer, select the Senso installer. (Note this should be on a shared location with the relevant read access)
5. Once the Senso msi has been selected the screen should now look like the below
6. You will need to add the license key and the site ID at point of install (Recommended) by modifying the Command line entry. *
Check the "custom" tick box which will allow you to edit the Command line.
The command line edit only needs to append the Licence key, you can, however, add the site ID to pre-assign devices to their relevant sites as below
When the licence and site ID have been appended it should look similar to the below with your licence and site variables
msiexec.exe /i "senso.cloud_client_x64.msi" ALLUSERS=1 /qn /norestart /log output.log LIC=001-002-003 SITE=Yoursite

7. Save the package.
8. Right Click the newly created package and press Deploy Once, select the desired Target groups of devices.