*Please note there are four video guides showing the different parts of this module. All of the links are at the bottom of this guide for you to access*
This module will allow you to quickly and easily block or allow access to resources such as websites or applications. This guide will explain how to:
Access the Module
Block Websites
Block Applications
Disable Blocked Websites/Applications
Allow Only Websites
Disable Allow Only Websites
Additional Functionality
Accessing the Module
Select ‘Access’ from the task bar.
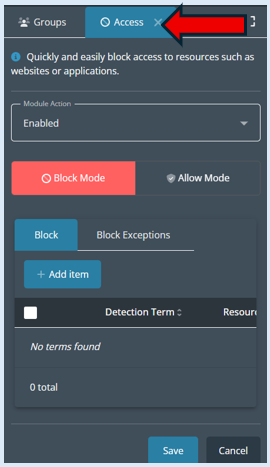
This will open the options box.
Blocking Websites
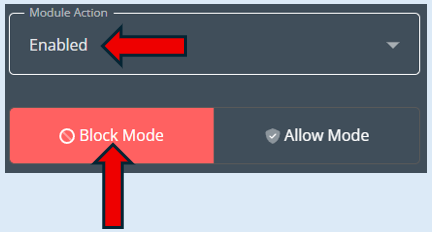
The Module Action box needs to be set to ‘Enabled’ and the Module Mode box set to ‘Block’.
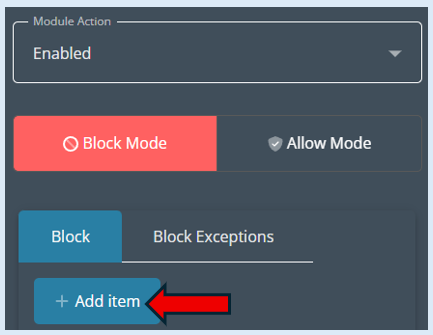
To block a particular website, click on ‘Add Item’.
This will open an additional box.
The Resource Group box needs to be set to ‘Add Block’ (This is the default setting).
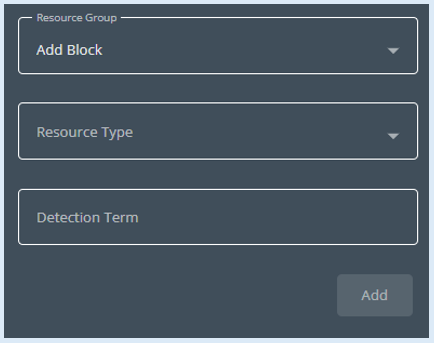
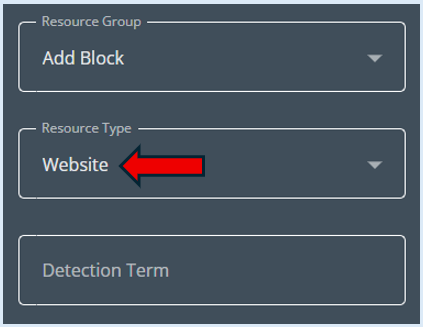
Click on the Resource Type box and select ‘Website’.
Next you need to add in the website address that you wish to block in the ‘Detection Term’ box.
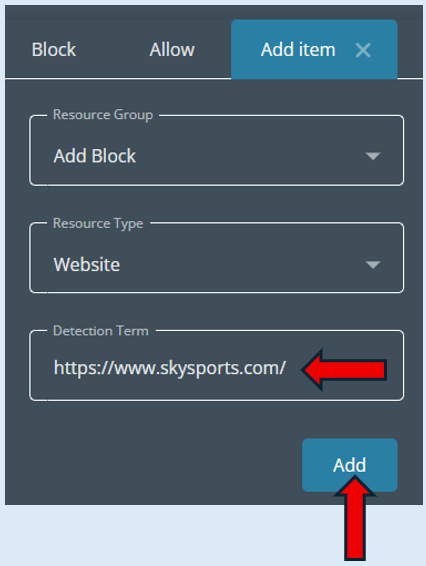
Click on the ‘Add’ button.
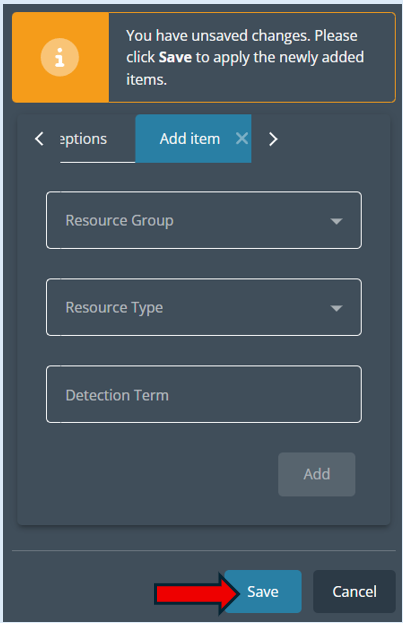
You will then need to click ‘Save’.
The website that you have just added will appear in the Block list. To see this select ‘Block’.
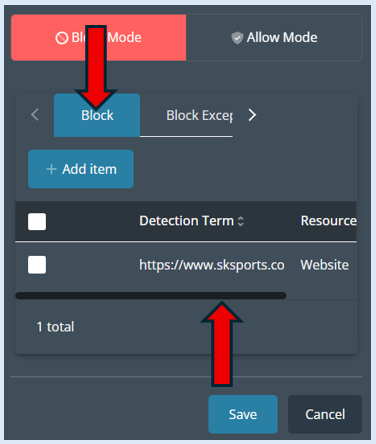
Top Tip – You can repeat this process to add in as many website addresses as you require.
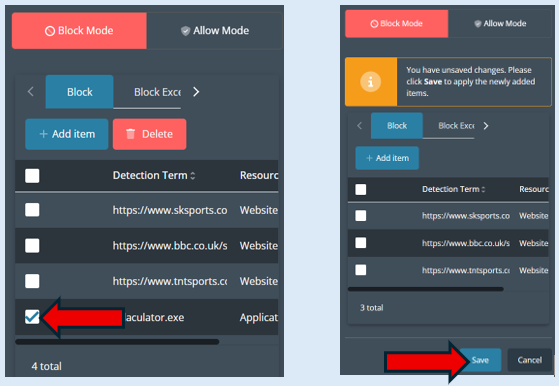
To action the blocked websites, select ‘Save’.
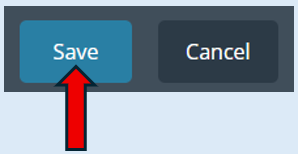
A pop-up notification will show to confirm your action.

When a user tries to access the blocked websites.
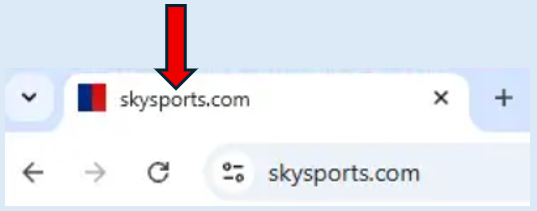
They will get a notification.
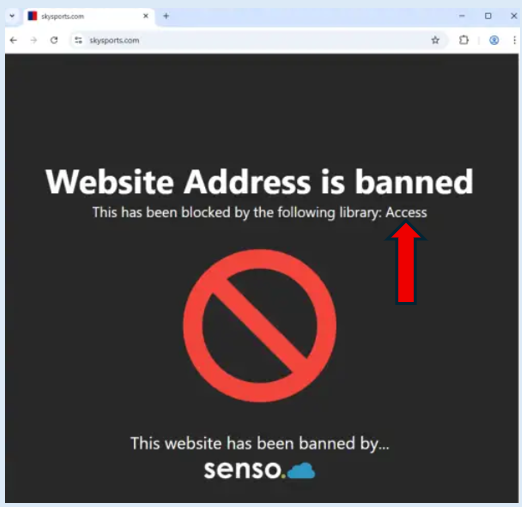
You can see on the notification that the website has been banned by the ‘Access’ module.
Blocking Applications
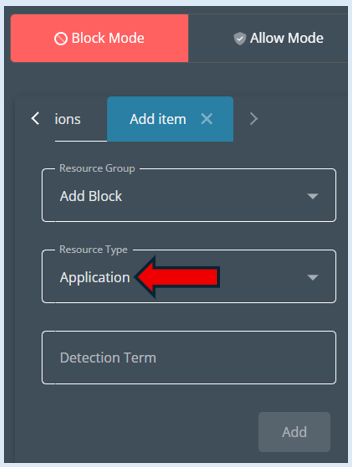
To block an application, you follow the same process as how to block a website except when adding an application to your available list select ‘Application’ when you are completing the ‘Add Item’ process.
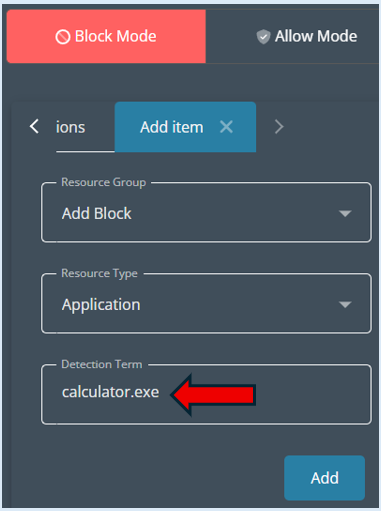
Add in the ‘Detection Term’ for the application you wish to block. Then select ‘Add’.
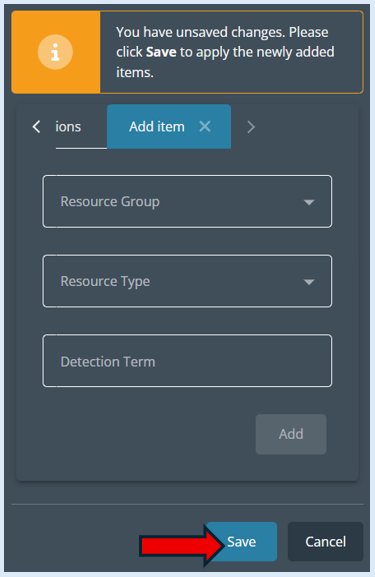
To complete adding the application to the list, select ‘Save’.
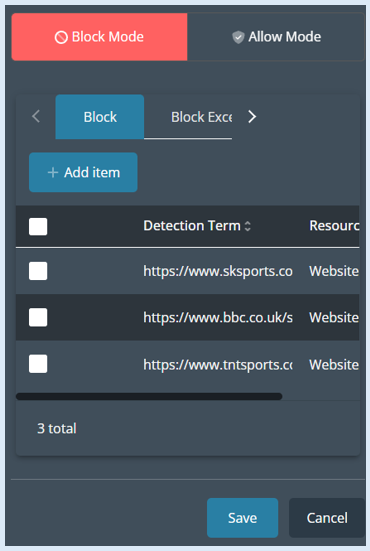
Select ‘Block’ and the application that you have added will now appear in the ‘Block list’.
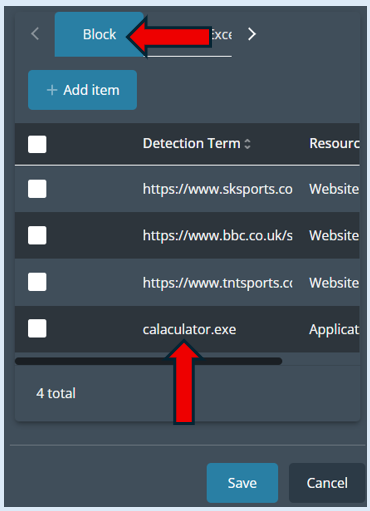
All items that have been added as a ‘Block’ will appear in the same list.
Disable Blocked Websites/Applications
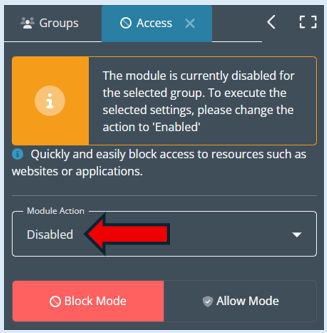
If you wish to remove the blocked websites and applications that you have actioned against the group, you must first change the ‘Module Action’ to ‘Disabled’.
Then select ‘Save’ to run the updated action. You will receive a notification to confirm the action has been successful.

The list of websites and Applications that you have set up will remain in your list unless you manually delete them. To do this tick the website/application and then select the ‘Delete’ button. Finally select ‘Save’.
Allow Websites
This mode will allow you to add websites to an allow only mode, everything else will automatically be blocked.
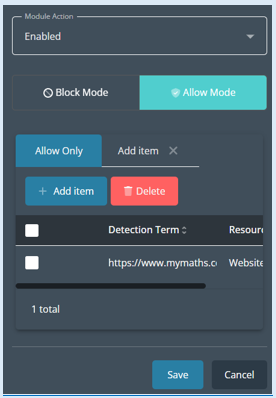
Select ‘Allow Mode’, then select ‘Enabled’ in the ‘Module Action’ field.
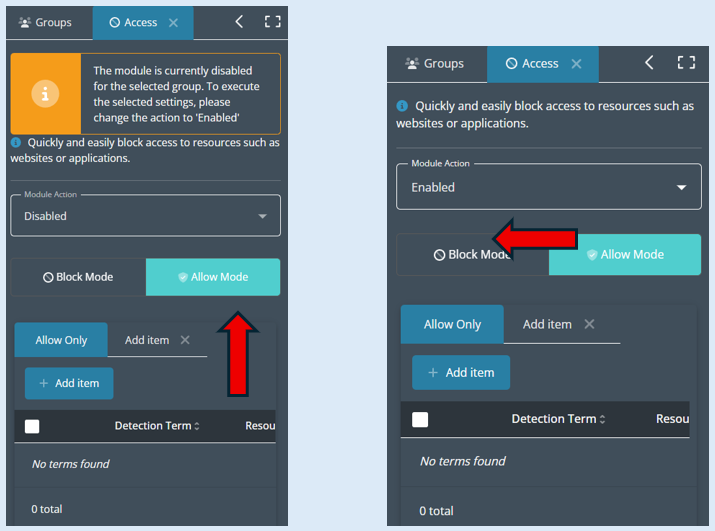
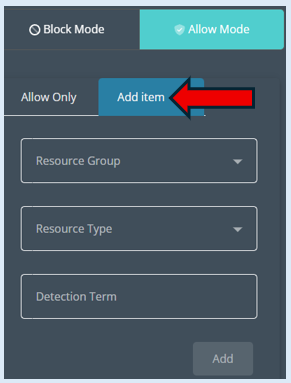
Then select ‘Add Item’.
Change the ‘Resource Group’ to ‘Add Allow Only’, then change the ‘Resource Type’ to ‘Website’ and then add in the website address that you would like to allow.
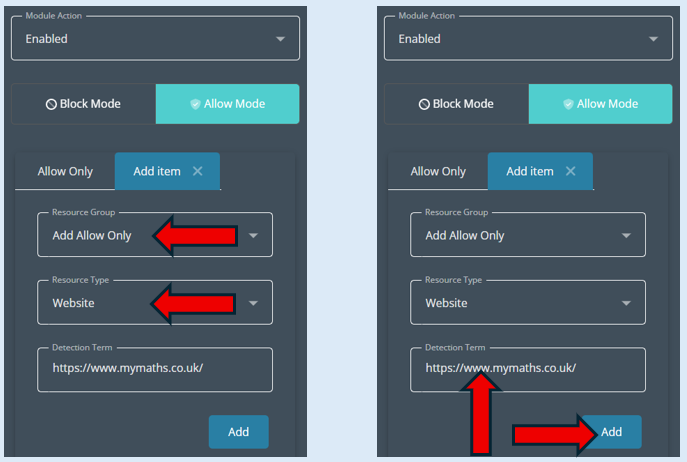
Select ‘Add’.
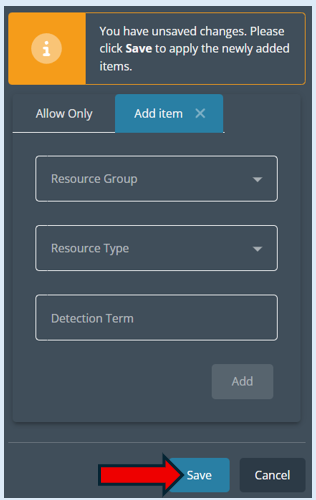
Then select ‘Save’.
Select the ‘Allow Only’ button and you will see the website is now in the list.
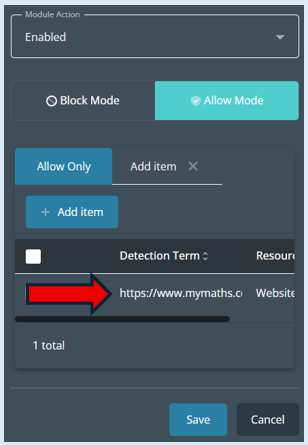
To apply the ‘Allow Mode’, first select the websites from your list that you would like to allow. Then select ‘Save’.
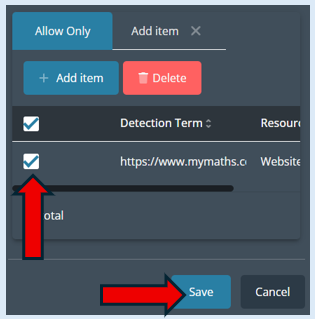
A pop-up notification will appear confirming your action.

Remove Allow Only Websites
Select ‘Disabled’ in the ‘Module Action’ field.
Select ‘Save’ to complete the action.
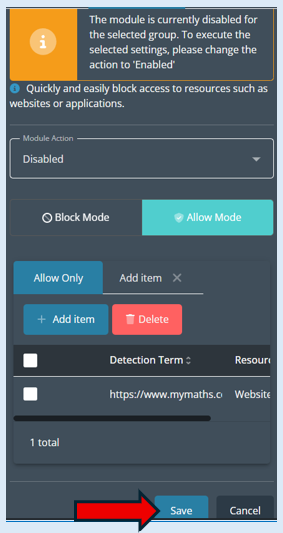
A pop-up notification will show, confirming your action.

Additional Functionality
Block Exceptions
This is where you can block a domain but allow a sub domain. For example, I can block bbc.co.uk but add in an exception which would allow bb.co.uk/news.
Select ‘Block Exceptions’.

Select ‘Add Item’.
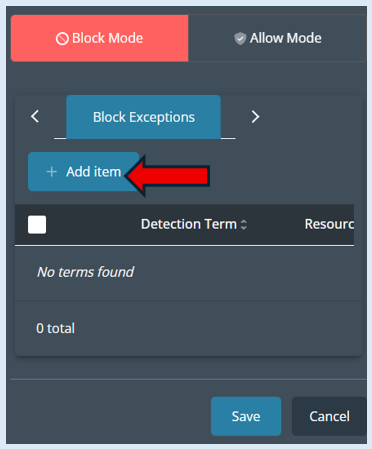
‘Resource Group’ needs to be set to ‘Add Block Exception’. ‘Resource Type’ needs to be set to ‘Website’ and you will need to add in the website address that will be the block exception in the ‘Detection Term’ field.
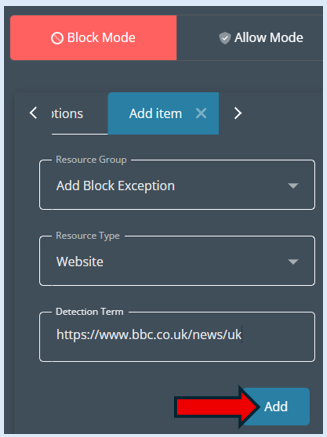
Once the fields have been set, select ‘Add’.
Finally select ‘Save’.
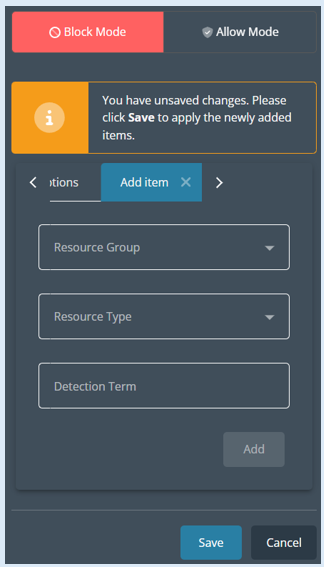
A pop-up notification will open confirming your action.

Video Guides
How to access the module and use the block mode
How to access the module and use the Allow Mode
How to access the module and use Block Exceptions
How to block an Application within Block Mode