
This guide will help you create a ‘Role’ which can be used/assigned to your DSL team which will allow them to access the ‘Safeguarding’ tools. The settings in this guide are what we recommend however you will be able to amend accordingly to your specific needs if required.
Once you have logged in to senso.cloud you will need to select the ‘Admin Centre’ icon. This is located at the top of your console.

Once selected the ‘Admin Centre’ homepage will open.
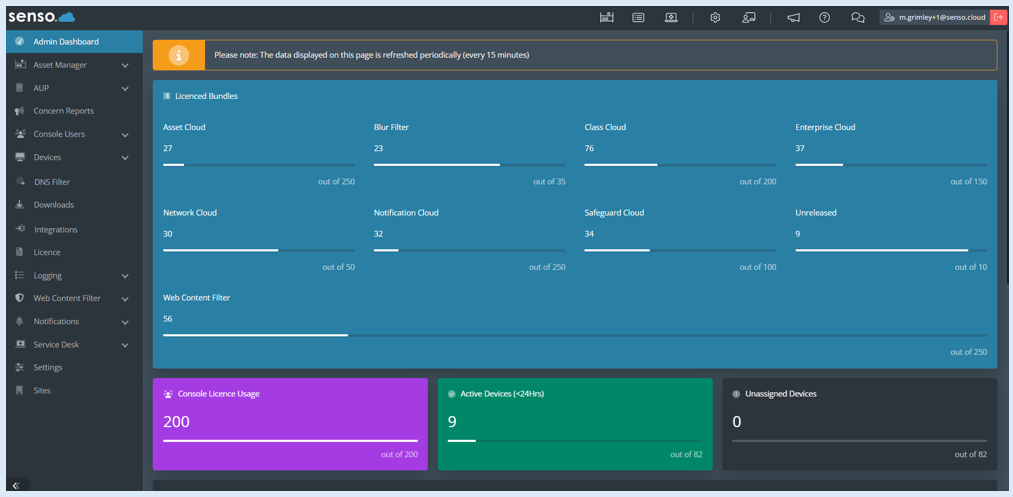
PLEASE NOTE – When creating the new role, at the bottom of each page there is a ‘Confirm’ button'. If selected this will save your work up to that point and close down the ‘Add Role’ creation process. You will be able to locate this role and complete the process by selecting the ‘Edit’ icon.
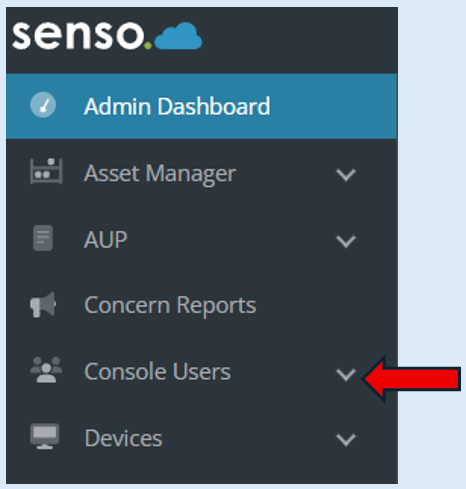
Select ‘Console Users’.
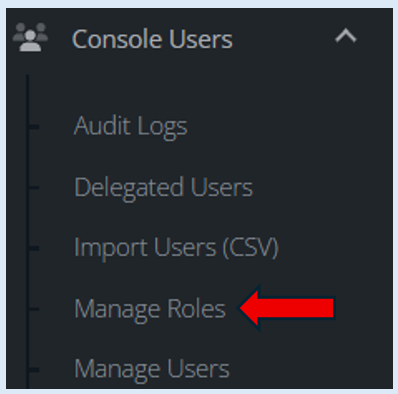
Then select ‘Manage Roles’.
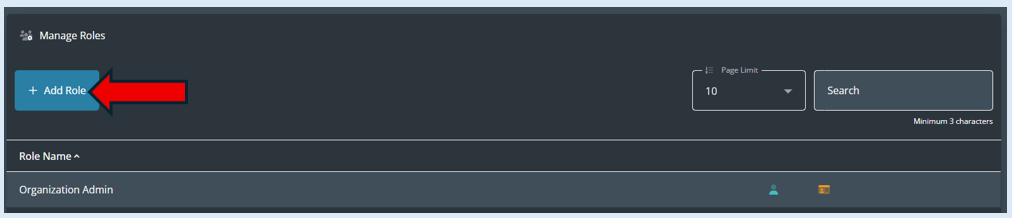
Select ‘Add Role’.
A new box will open. This current tab is called ‘General’.
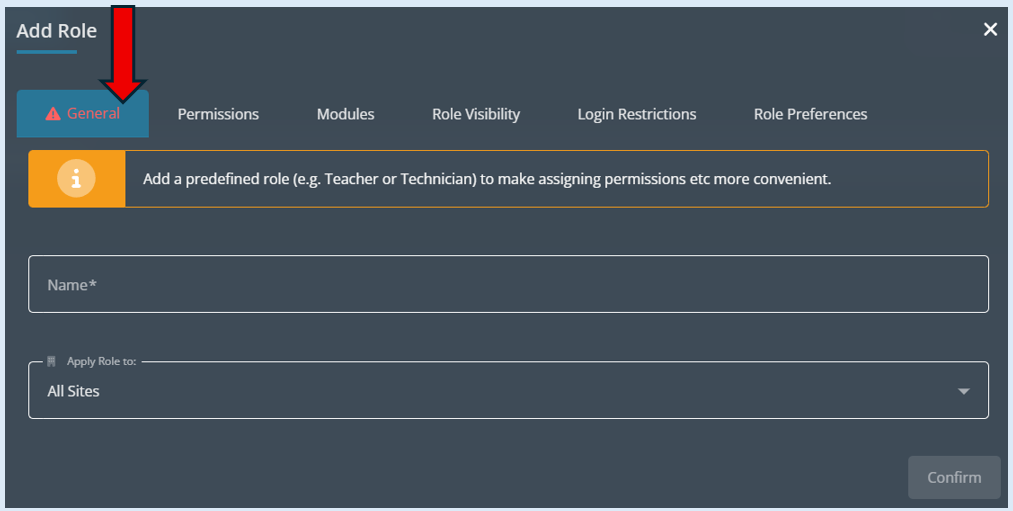
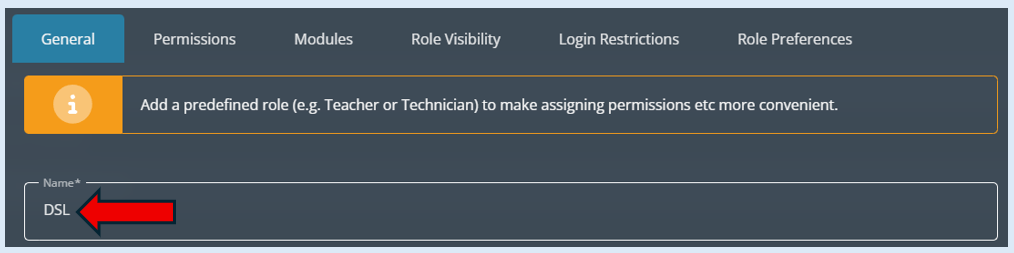
Add in a name for the role. We recommend ‘DSL’.
The next field is deciding where the permissions will be assigned to.
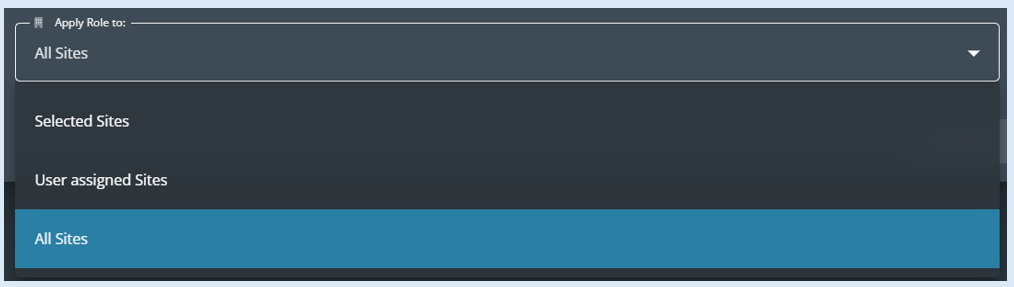
The option that is selected here will be dependent on your set up. These are our generic recommendations.
If you are a single School Portal select ‘All sites’
If you are a trust you can select either ‘Selected Sites’ or ‘User Assigned Sites’. The difference being ‘Selected Sites’ would involve you having to create a role for each individual site where ‘User Assigned’ allows you to use this role against any site. We would recommend ‘User Assigned’ if you are a trust.
Select the next tab which is ‘Permissions’.
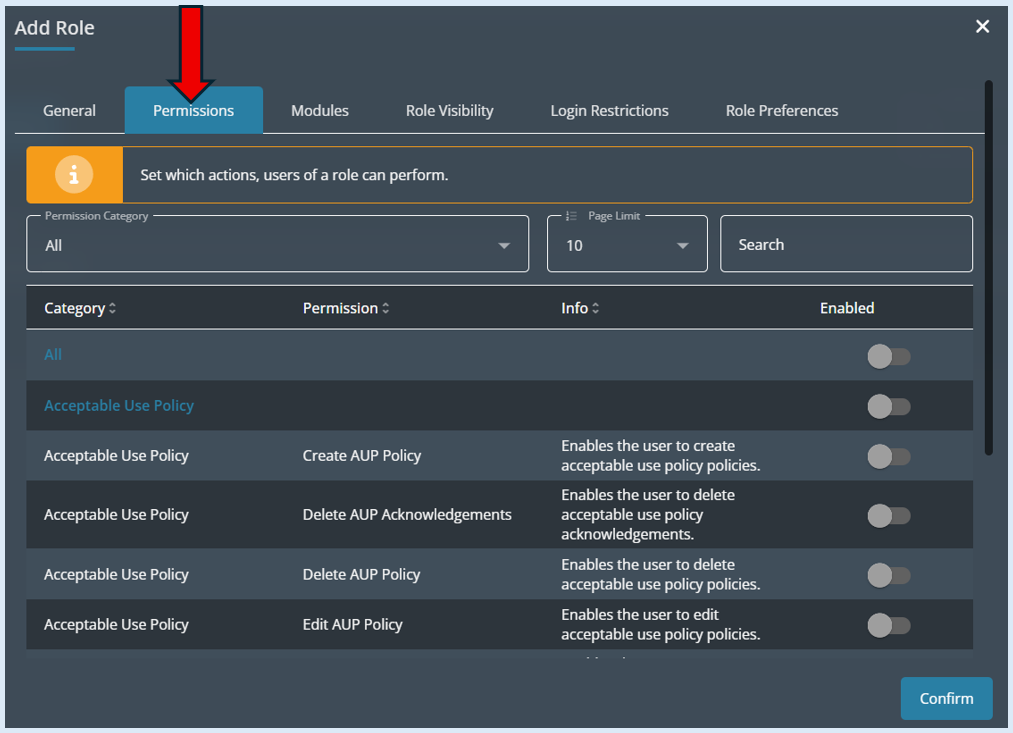
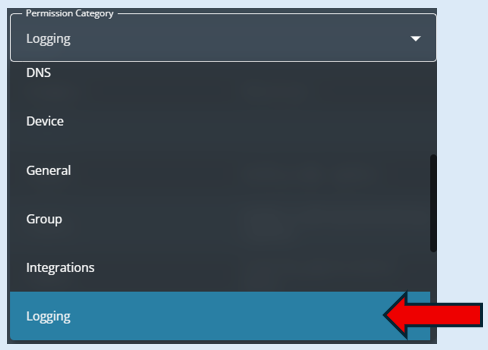
In this section you will need to switch on several permissions. This can be done via two searches. The first involves selecting ‘Logging’ in the ‘Permissions category’ field.
Then type in ‘keystroke’ into the ‘Search’ field.

The permissions will automatically filter for you. It will give you 10 permissions in total.
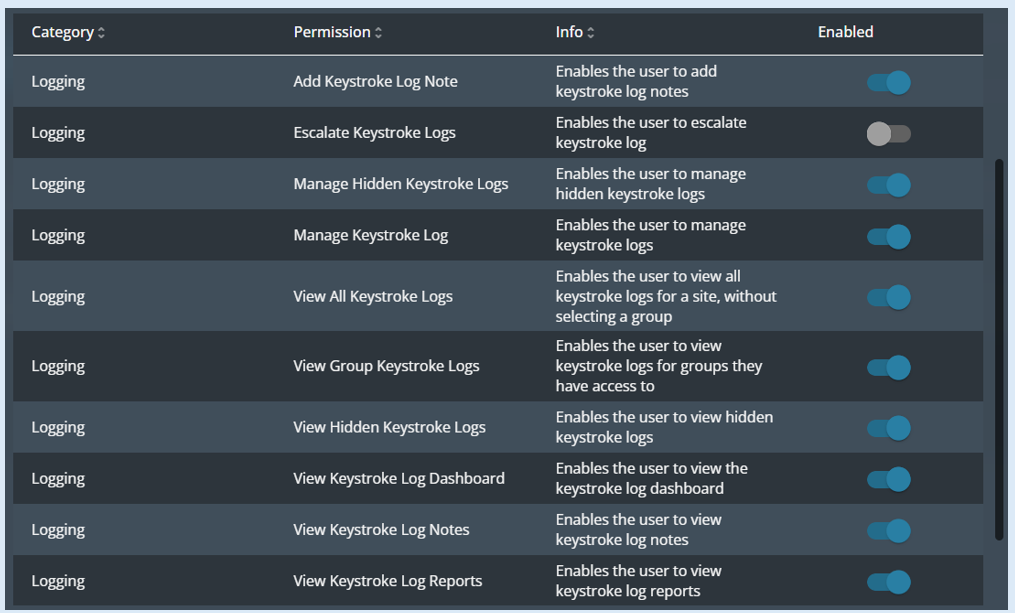
You will need to activate nine of the permissions. The one that has not been selected links to our Assisted Monitoring Package. If you have purchased this option then switch this permission on as well.
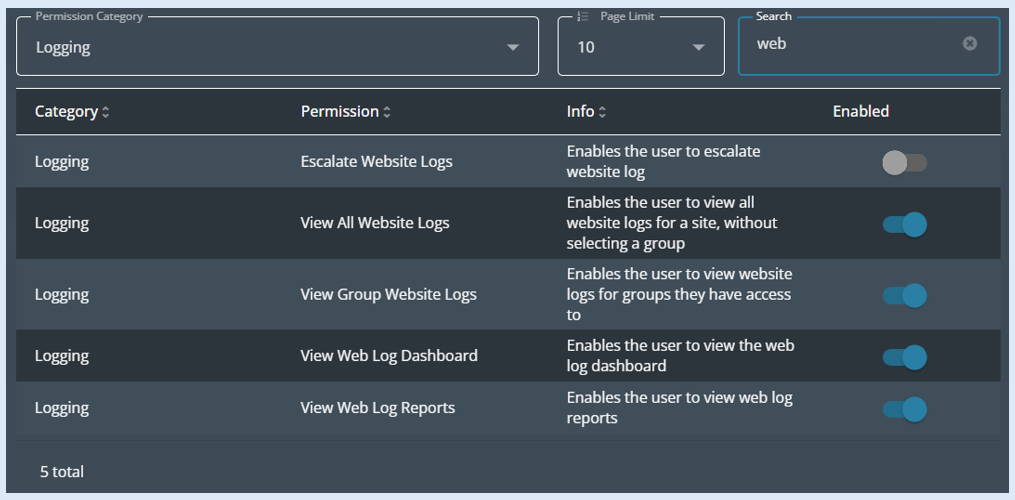
The second search you will need to perform is change the wording in the ‘Search’ field to ‘web’.
This will automatically filter the permissions and show five. You will need to select four of them as the screenshot below indicates. The permission that has not been selected ties in with our Assisted Monitoring Package. If you have purchased this then you would switch the permission on.
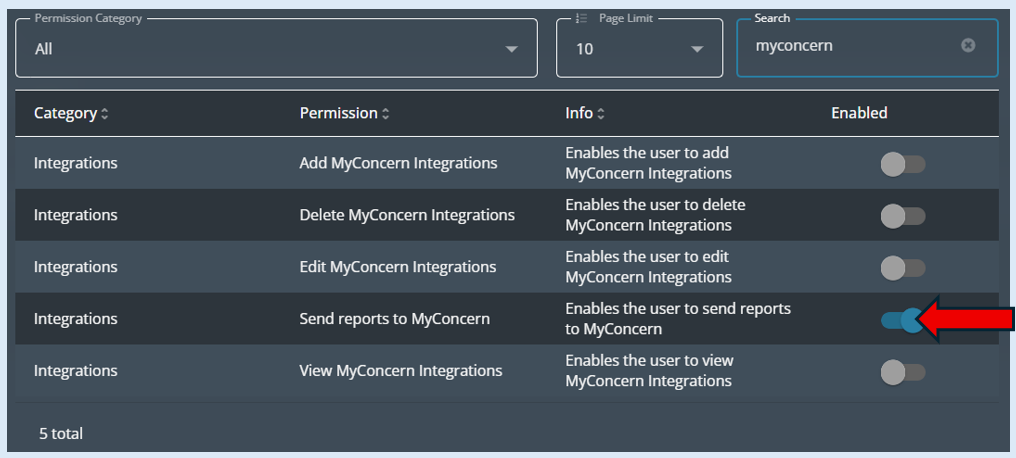
If your establishment uses either CPOMS or MyConcern there will be another permission that you will be required to switch on. To do this type ‘cpoms’ or ‘myconcern’ into the ‘Search’ field and change the ‘Permissions Category’ field to ‘
This will provide you with five permissions, you only need to select ‘Send reports to CPOMS’.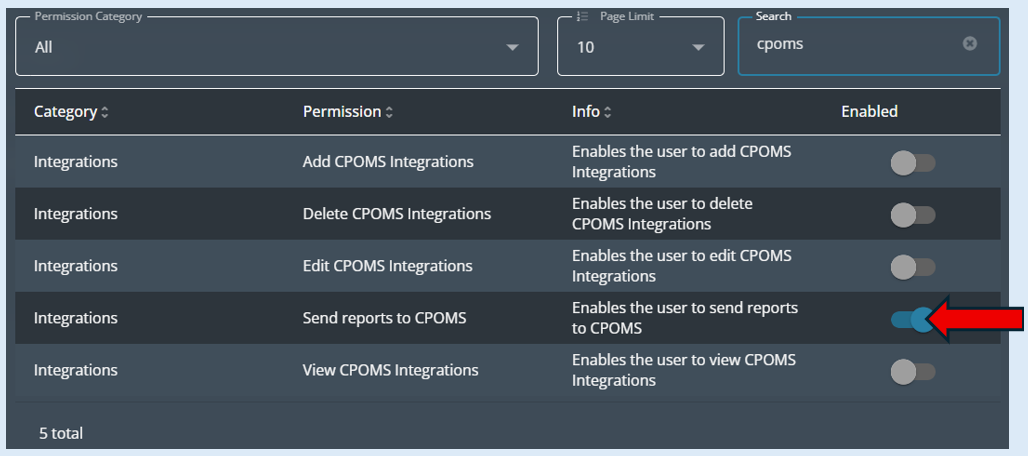
For MyConcern you will get the same five options, you only need to select ‘Send reports to MyConcern’.
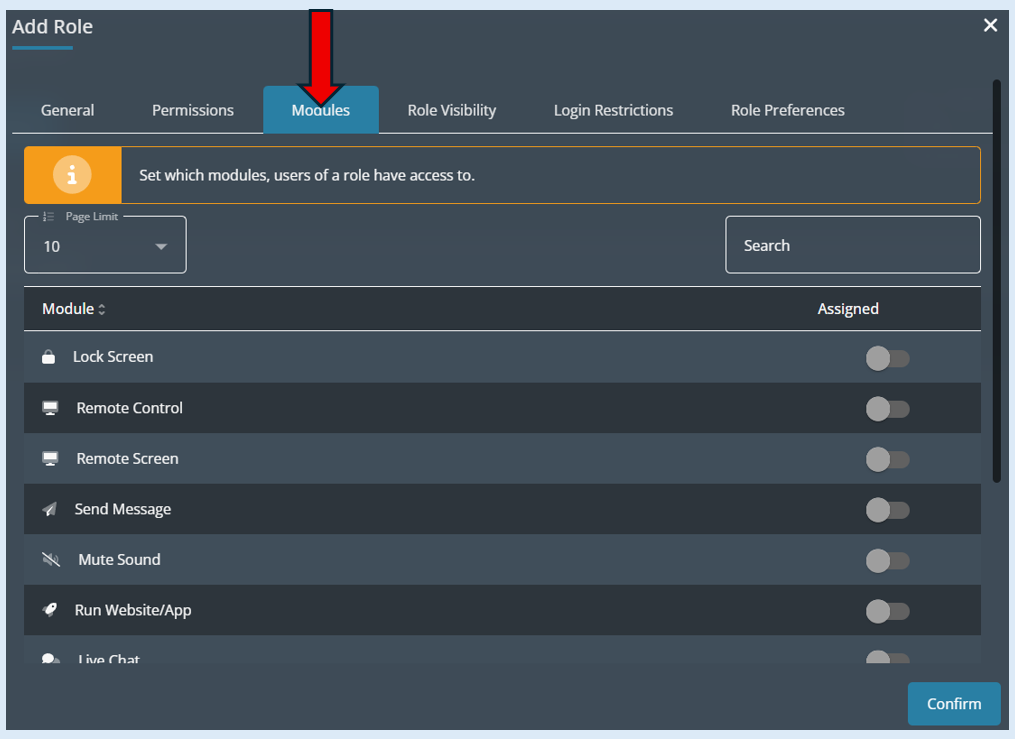
The next tab is called ‘Modules’. This is where we can switch on the modules that you would like the teacher to be able to access within the platform. This is tied into the classroom management side of things. No changes need to be made in this section.
The next tab is ‘Role Visibility’.
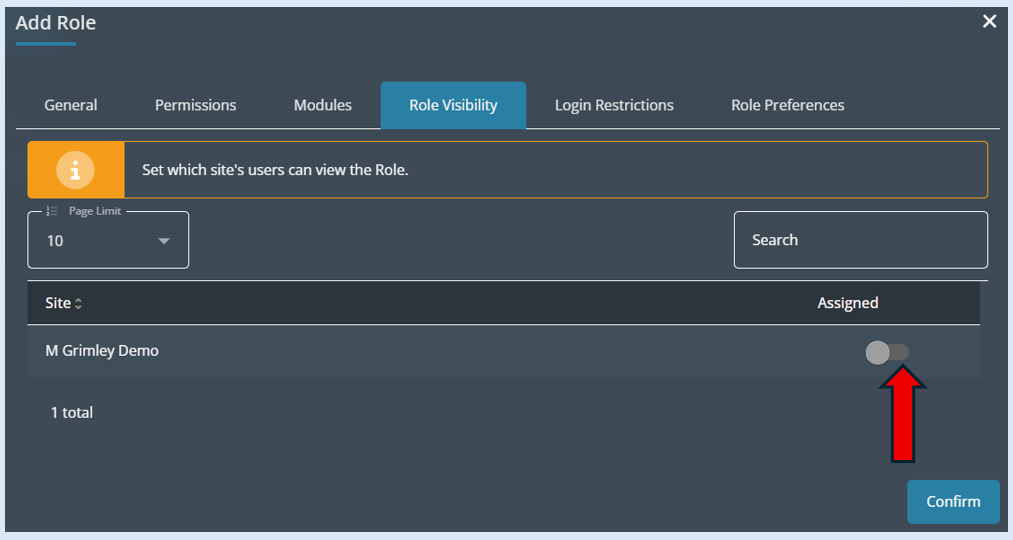
This page allows you to determine which site this role will be visible to. If you have multiple sites, they will all be listed and you have the option to toggle each site to the ‘On’ position.
The next tab is ‘Login Restrictions’. No changes need to be made in this section unless you would like to place restrictions on when users can access the system. Examples have been provided below on how to do this if required.
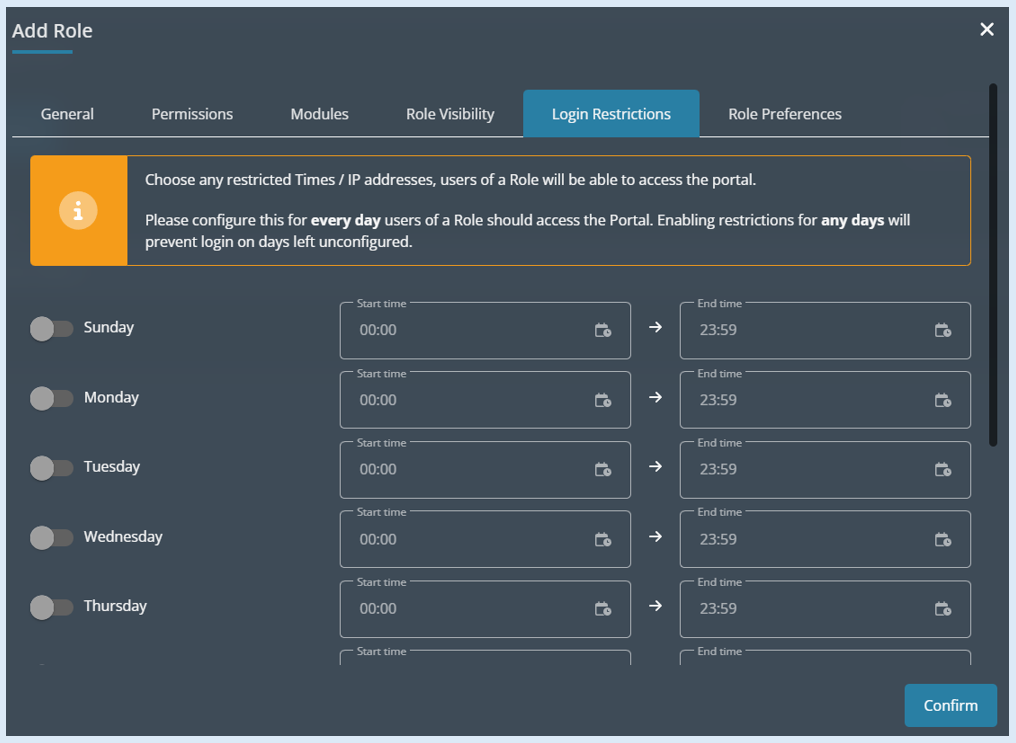
This will allow you to add in any restrictions on the times a teacher/user can access the system.
For example, you do not want your teachers to access the system during the weekend, you would disable both Saturday and Sunday by leaving the toggle in the ‘Off’ position. For Monday to Friday, you would enable the toggle switch to the ‘On’ position.
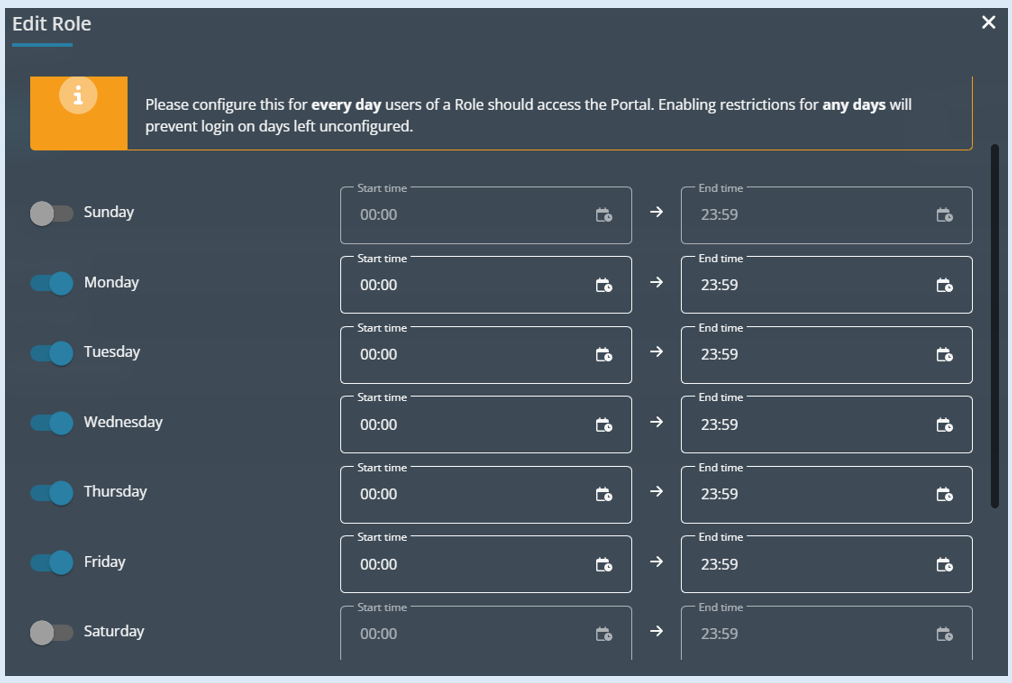
Please note - If no changes are made on this page, it means that users can access the system 24/7, 7days a week.
On this page you will also be able to restrict IP addresses.
Your IP address will automatically show to make you aware of what it is.
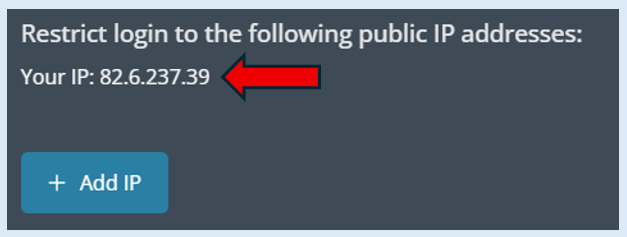
If we make no changes at this point, there will be no restrictions linked to IP addresses.
If you do wish to place restrictions, select the ‘Add IP’ button.
Two new fields will open; these will allow you to enter in the Start IP and End IP addresses. If you do not have an ‘End’ IP number, you will need to put the same IP address in both fields.

The IP address that you have added in will work alongside the times you have previously set. So using the example above (If you add in the Schools IP address) it will only allow users who are using this IP address at the times that have been set (Monday to Friday) to access the system. No user will be able to access the system from any other IP address.
If you do require other IP addresses to access the system then add them in the same way as the process that has just been explained and these IP addresses will be able to access the software.
The final tab is called ‘Role Preferences’. No changes need to be made in this section.
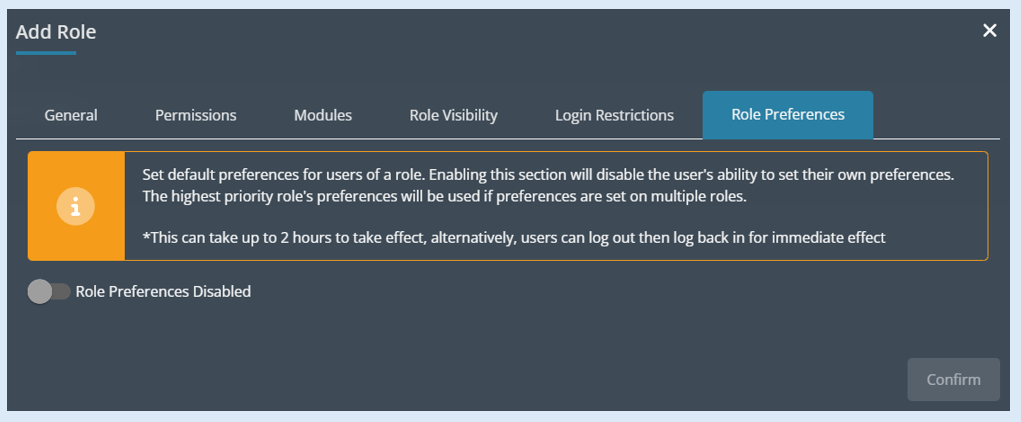
Finally, select ‘Confirm’.
The role has now been created and will show in the ‘Role Name’ list.
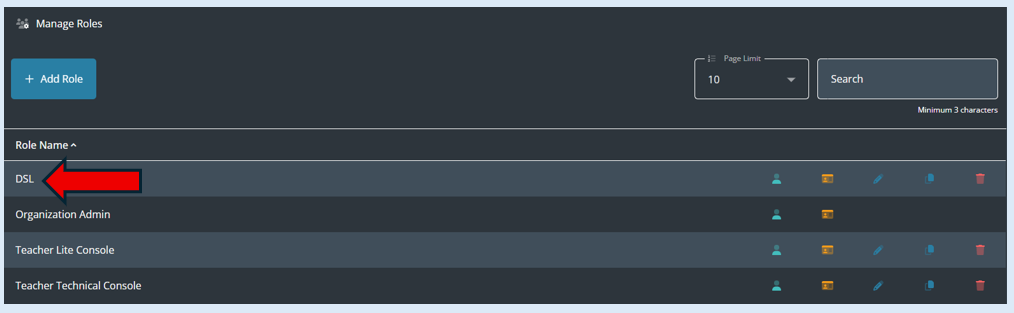
This role can now be assigned to users.