Senso.Cloud monitors Microsoft Teams chats and images using AI and keywords focused on student safety and wellbeing. It detects threats like bullying, self-harm, or inappropriate content, and raises real-time alerts to enable timely intervention and support. This guide will help you locate the features within this module and will show how to use them.
Please note – There is a technical set up guide that can be accessed within the Senso.Cloud knowledge base.
To access this module, you will first need to log in to your Senso console. Once logged in you need to click the icon title ‘Logging’ which is on the top dashboard.

Once selected this will open a new tab. You are now on the landing page for the Logging/Safeguarding page.

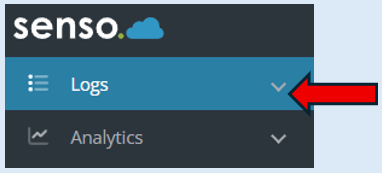
To locate the logs in relation to Microsoft Teams, select the ‘Logs’ down arrow.
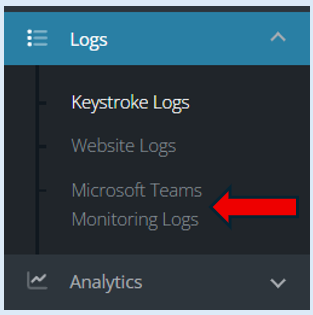
Next, select ‘Microsoft Team Monitoring Logs’.
Functionality
The Logs page has several filters and options which will allow you to see and also search for relevant captures.
Sites

This option defaults to all sites that you have access to. If you would like to look at data from just one site, you can select the dropdown arrow and then choice from the sites that are in your list.
Date Range
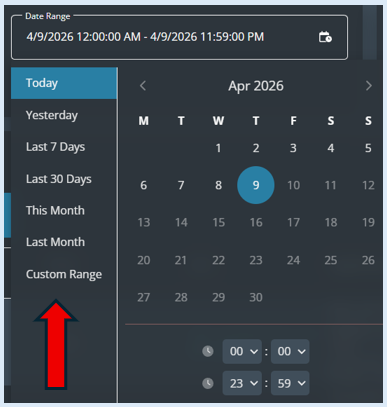
This option allows you to select the date range of the data you would like to view.

There are pre-selected options available and the ability for you to create a custom range (all located on the left-hand side of the calendar).
Columns
This option allows you to remove data columns from your view. All columns will initially show as the default.



Once you have clicked on ‘Columns’ a drop-down box will open.
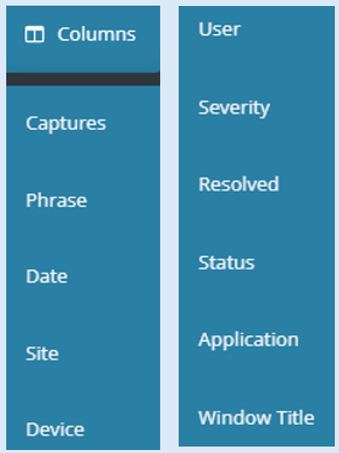
You can de-select any of the options and that particular column will be removed from your screen. This allows you to focus on the specific information that you need to see.
Export CSV
This option will allow you to export the data as a CSV file.

This option will allow you to print out your data. Once selected, your print page options will appear.

Refresh
Selecting this option will refresh the information on your page.

Captures/Logs
There are four types of captures within Microsoft Teams monitoring. These are ‘word’, ‘Image’, ‘Hidden’ and ‘Multi-part’. The information that is logged and available is the same for each type of capture.
Word Captures
When an inappropriate word is written it will be captured only when it is sent not whilst it is being typed. It will be detected when it is sent directly on a one-to-one basis, in a group or via a channel.
To access the capture, in the captures list, click over the capture you wish to view. When you hover over a capture it will be highlighted blue. You can click anywhere on the blue bar except on the image or word.
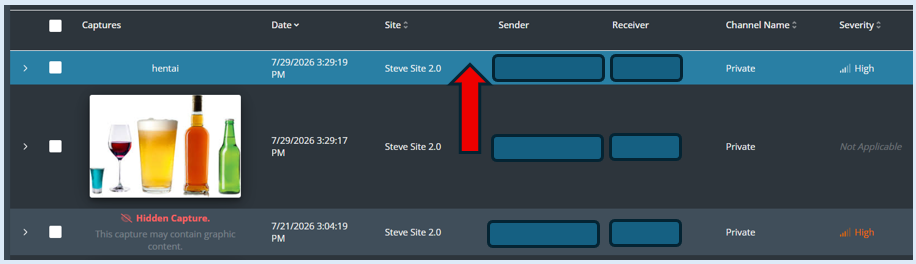
This will then open up a box containing all of the capture’s information.
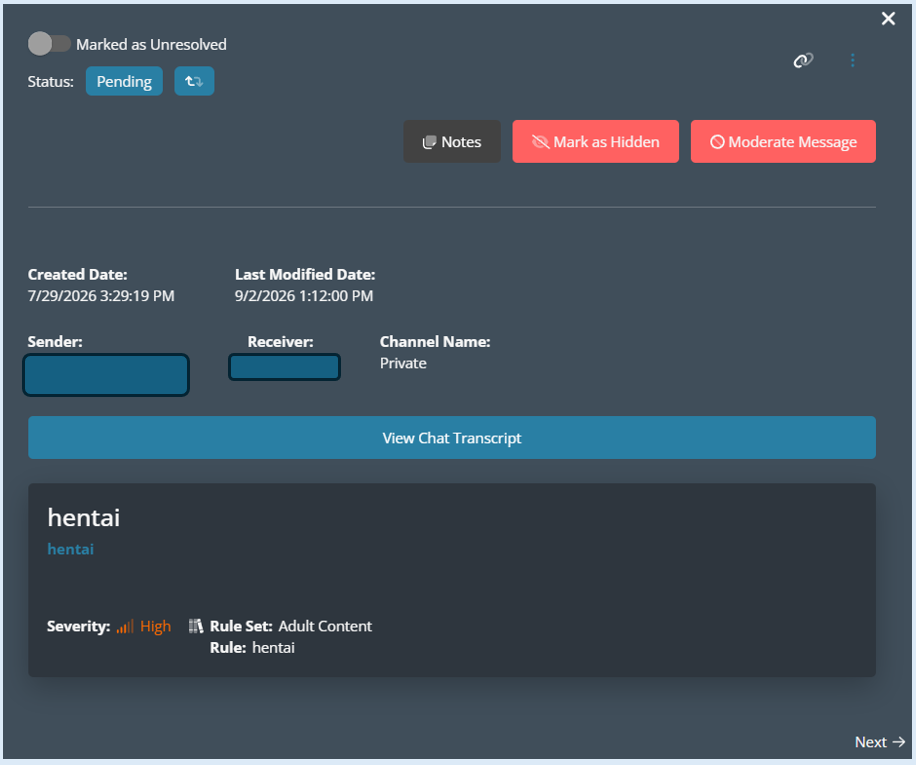
There are several actions that you can perform whilst looking at the capture. You will be able to change the ‘Marked as Unresolved’ toggle switch.
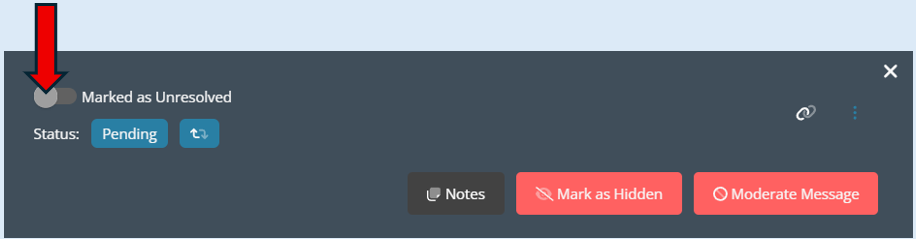
Once you change the toggle to ‘Marked as Resolved’ you can classify the capture as ‘False Positive’ or ‘True Positive’.
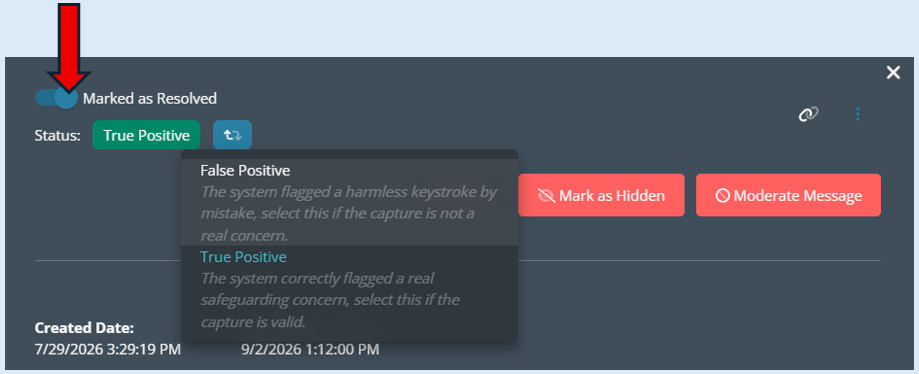
You can change the status of the capture.
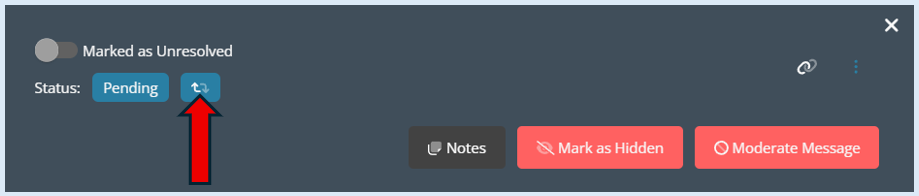
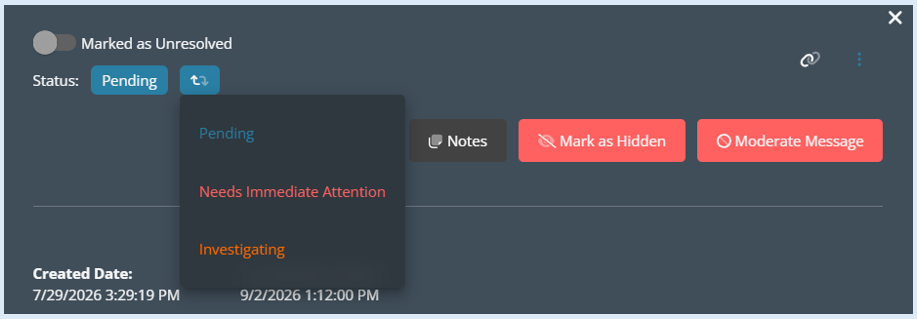
A drop down will appear and will allow you to change the status of the capture.
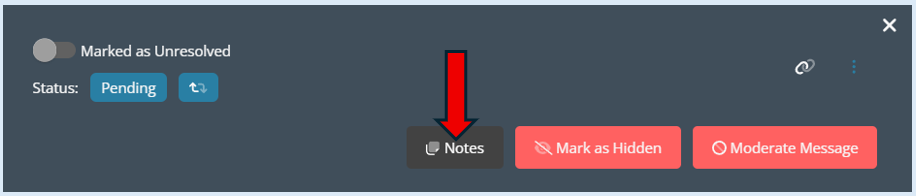
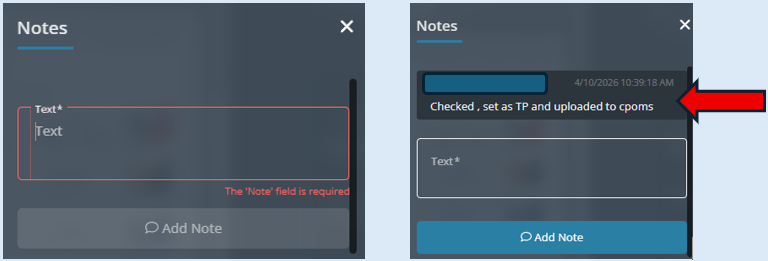
You also have the ability to add a note against the capture.
Type in your note, then select ‘Add Note’.
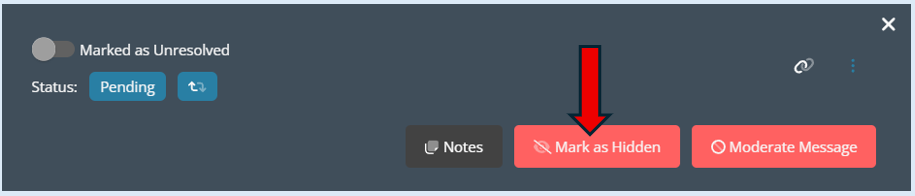
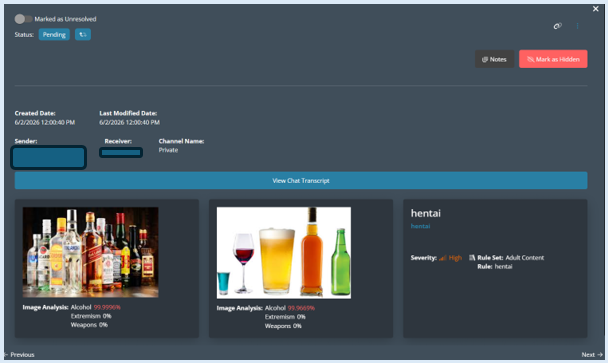
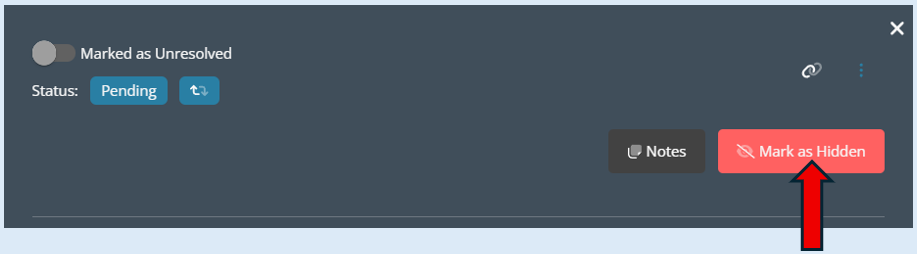
This option allows you to hide both images and text when viewing logs that are deemed as sensitive content. This action when selected will inform any user that is looking at the log that the contents of the capture contain graphic content.
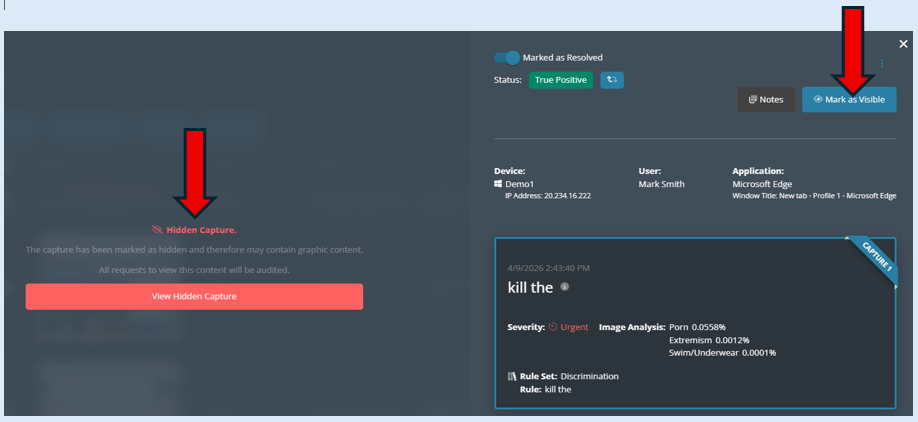
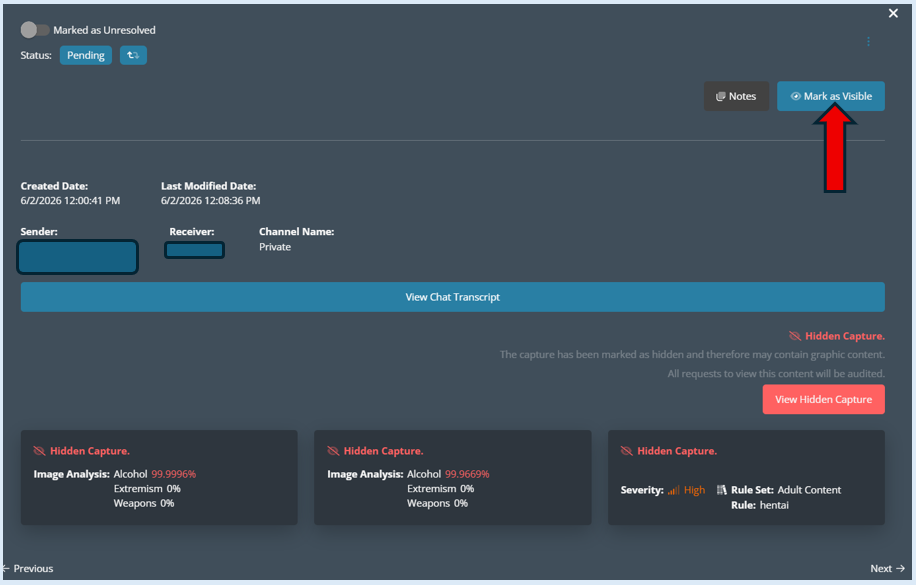
The image can be seen again if required, by selecting ‘Mark as Visible’.
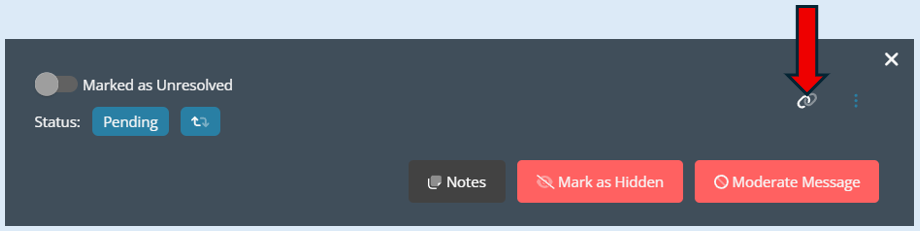
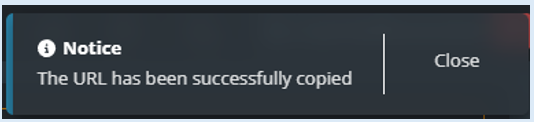
You can copy the URL for the capture and provide this to other relevant people.
Once selected a pop-up notification will confirm your action.
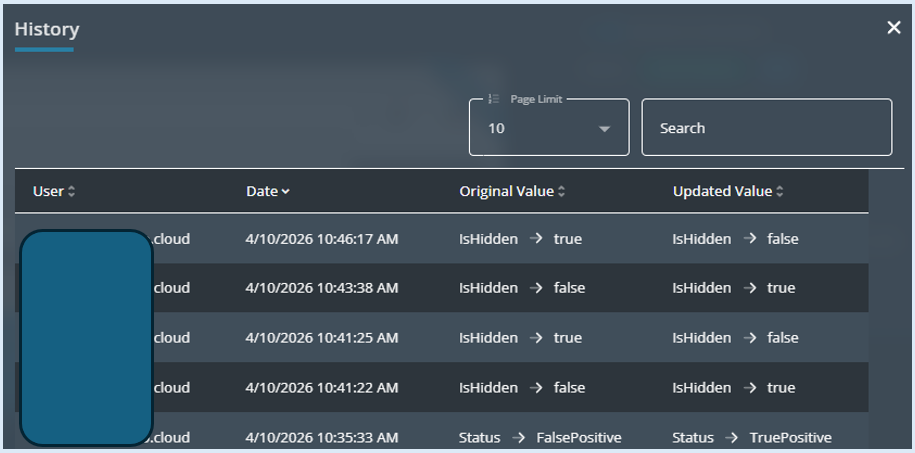
You can view the history on the capture, any changes/actions that have been made will be visible.
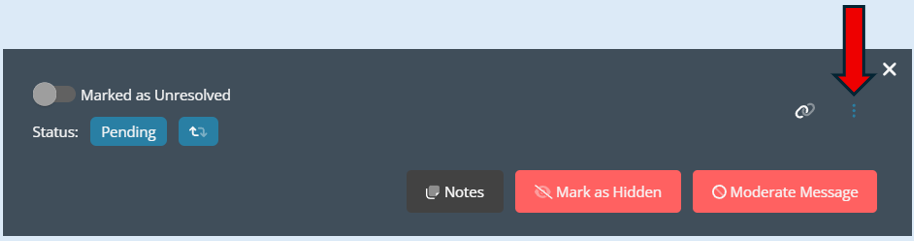
There is also an additional option that you can access, this is called ‘Moderate Message’.
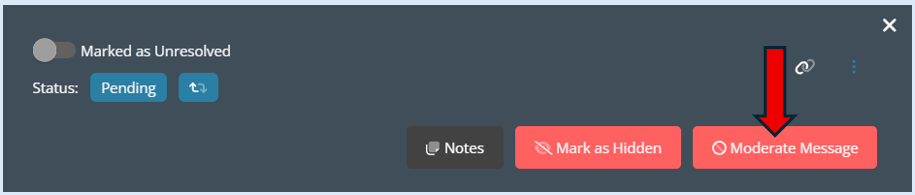
This option will allow you to remove the content from the Microsoft Teams chat so they are no longer visible. For example, there has been something written about the teacher in a group chat that is not appropriate and we do not want this to be seen by other students, pressing the ‘Moderate Message’ button will remove the words/message however it will still be logged and there is a record of this.
During the set up process there will be an option to make ‘Moderate Message’ automated so it will detect and remove words from chats automatically.
Please note – The ‘Moderate Message’ button will only appear if the message has not been automatically moderated.
Click the ‘Moderate Message’ button and a new option box will open.
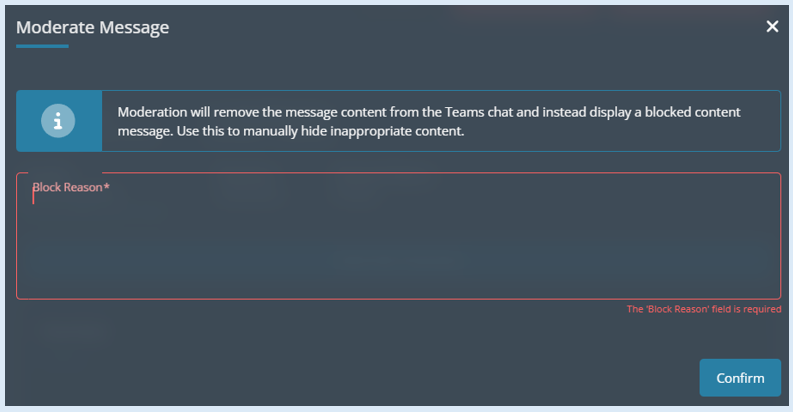
Add in a reason why this capture needs to be blocked and then select 'Confirm'.
There is also an option called ‘View Chat Transcript’.
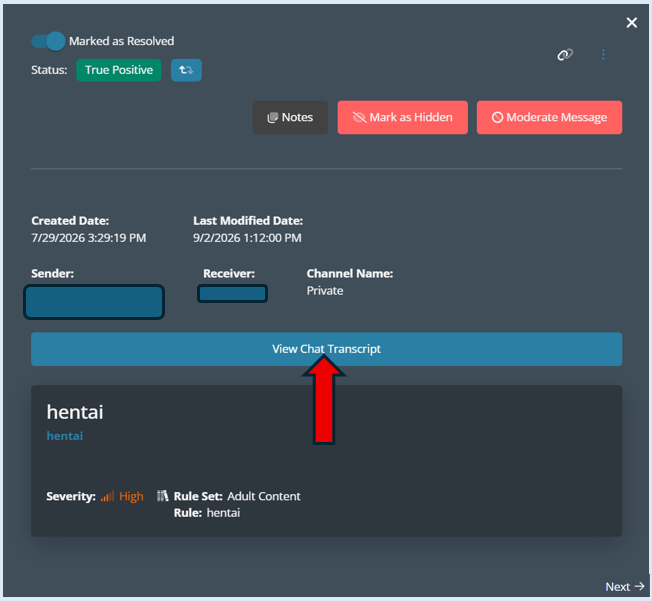
If you select this option, it will provide additional context around the message that was sent and captured. It will allow you to see the chat transcript in full.
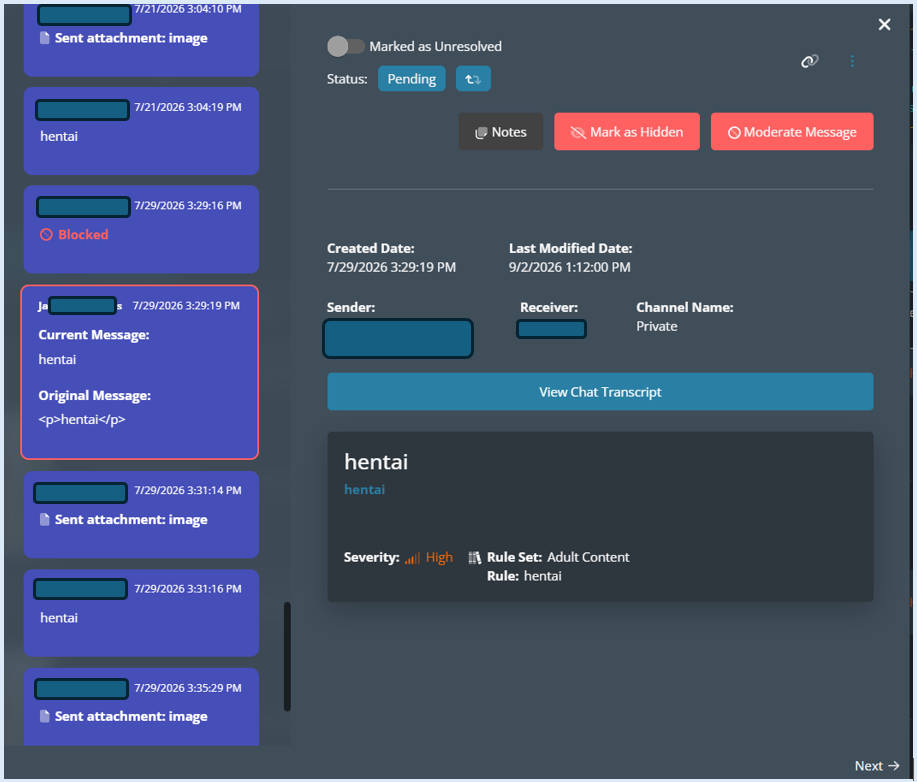
Within the chat transcript any message that is showing as blocked will either have been auto or manually moderated.
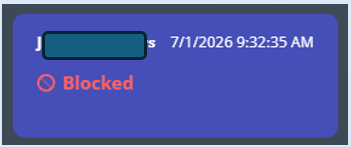
The blocked items are on separate logs which have also been captured within the chat.
Image Captures

This provides exactly the same information and options as explained above.
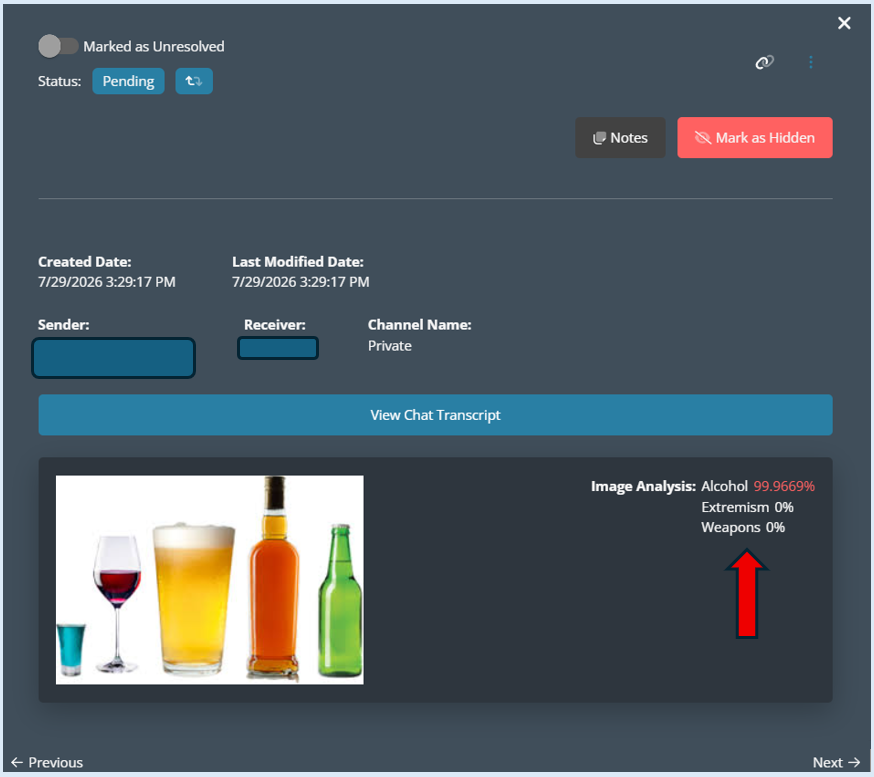
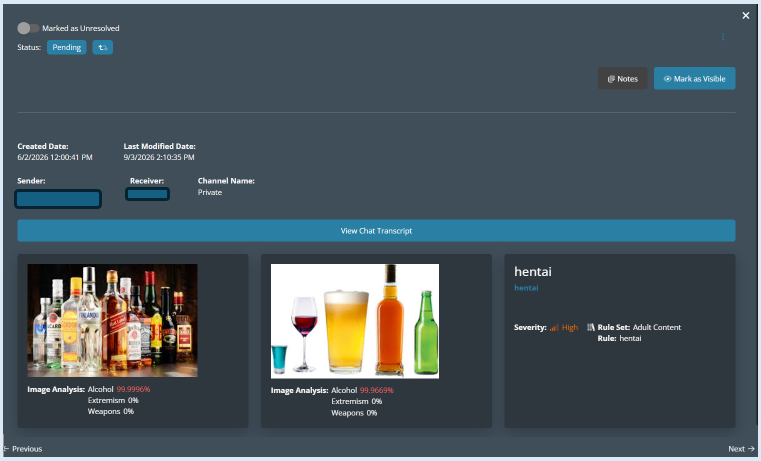
It is important to know that the ‘Image Analysis’ percentage is based on the probability of what has been detected. For this example, the system is 99.96% sure the image contains alcohol. This percentage is not linked to the ‘Severity settings’ of the system.
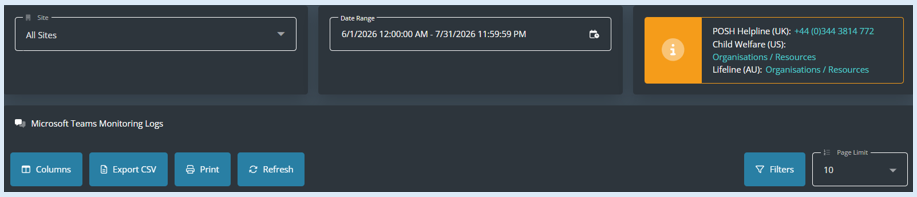
To include images within a search criteria within the ‘Filters’ section, first select the ‘Filters’ button.
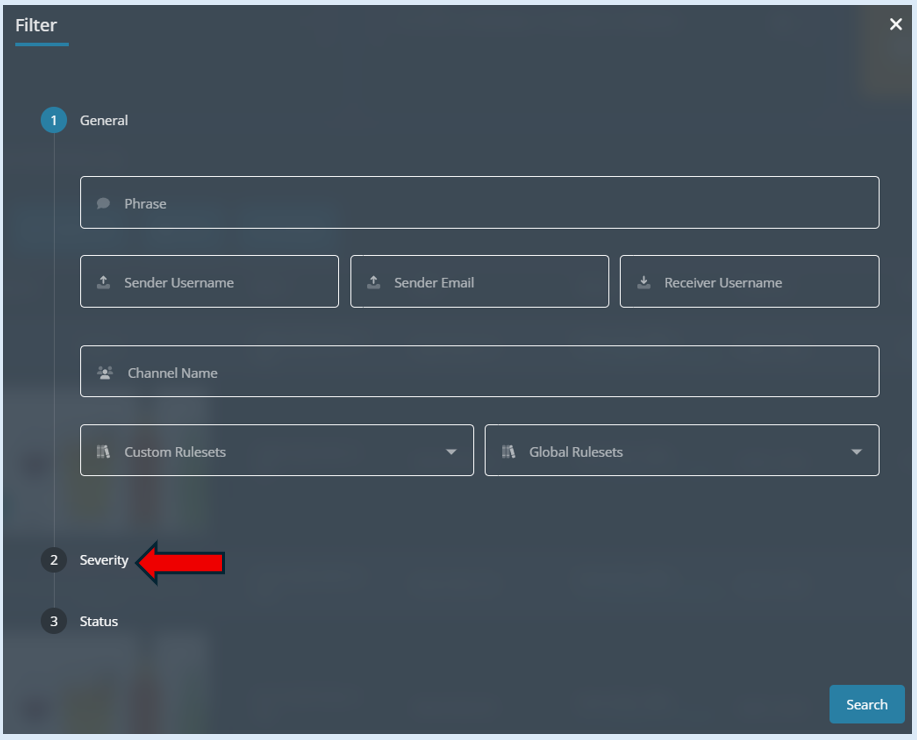
Select the ‘Severity’ option.
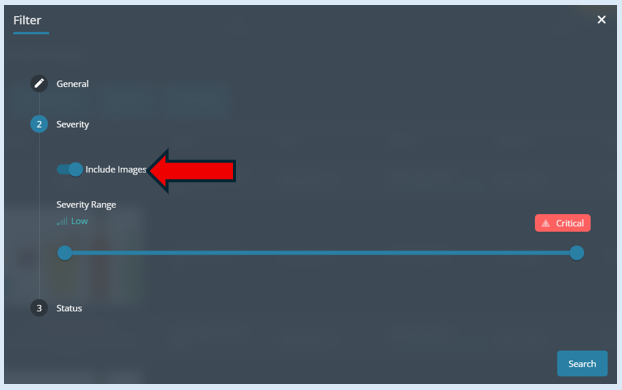
This section now has an option when filtering/searching for specific captures, will allow you to include images in the search.
Multi-Part Captures
This is when one message contains multiple violations. You will recognise these captures as they will multiple dots in the ‘Capture’ column.
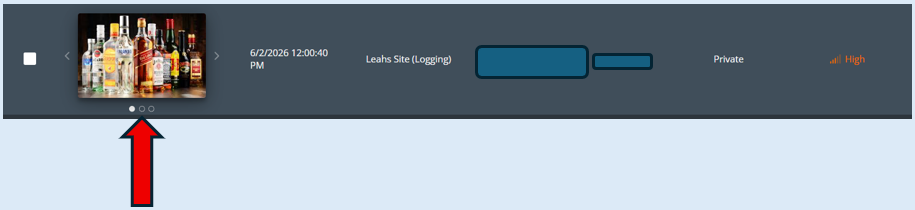
You can see this capture has two images and one word that have been detected.
Hidden Captures

This type of capture will remove the image from being seen. This is a manual process so the image will be visible for the first person who views it. They will be able to hide the image if deemed not suitable for others to view.
If you click onto the capture, there are options to either mark the capture as visible by selecting the ‘Mark as Visible’ button.
You will then be asked to confirm this action.
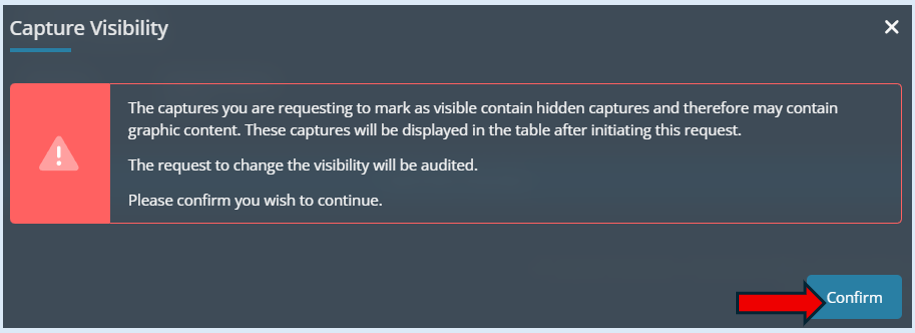
The image/word will now be visible within the captures column.
The second option to view the hidden images/words is to select the ‘View Hidden capture’ button.
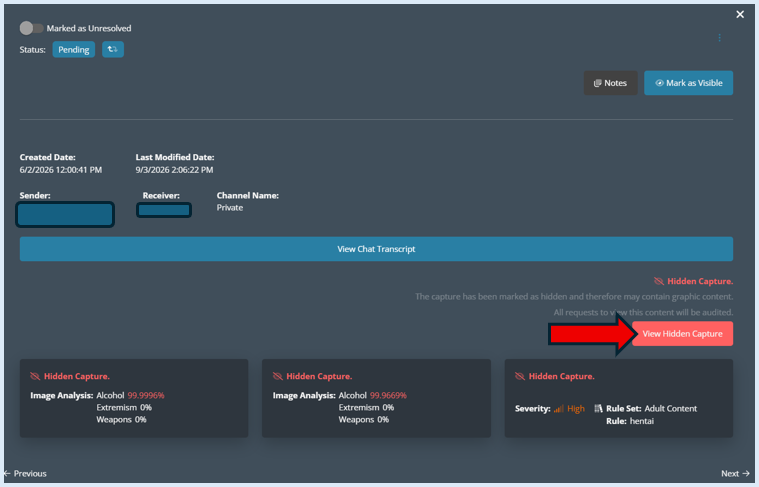
Once this has been selected the images/words will be visible in this box but it will not make the captures visible in the main ‘Captures’ column.