This guide will help you show you how to create and schedule automated reports within the Logging Module.
Once you have accessed senso.cloud and are logged in to your console, to access the Logging module you will need to click on the ‘Logging’ icon on the top dashboard.
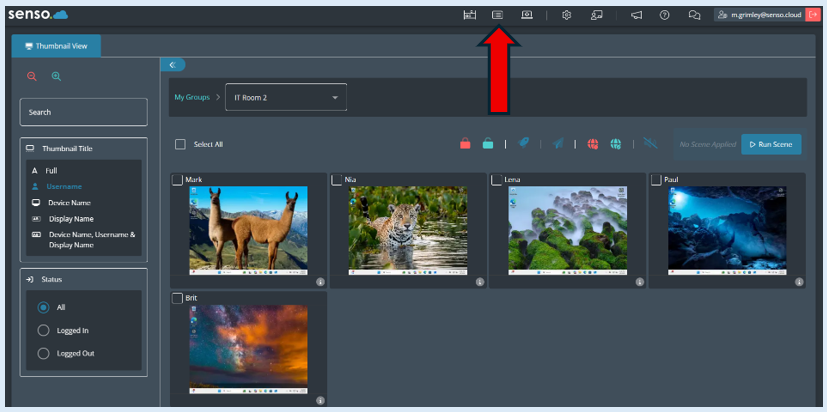

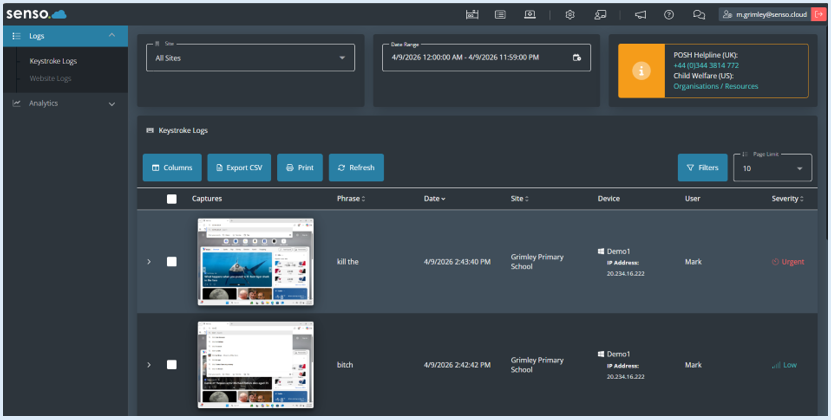
This will open up the Logging module landing page.
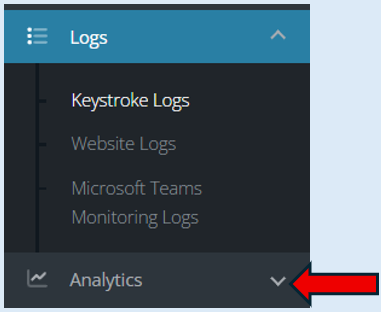
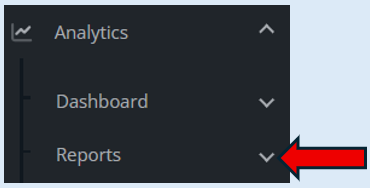
Next select ‘Analytics’.
Then select ‘Reports’.
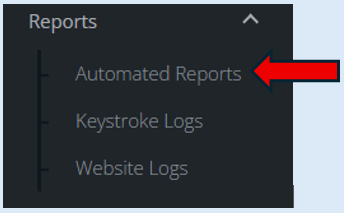
Next select ‘Automated Reports’.
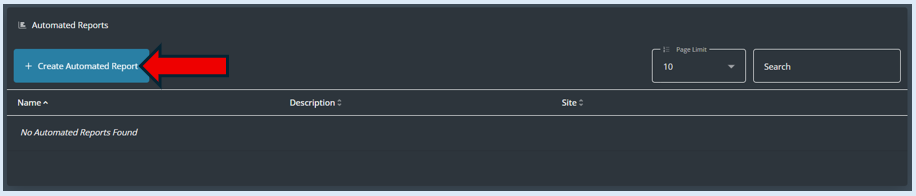
To create an automated report, select ‘Create Automated Report’.
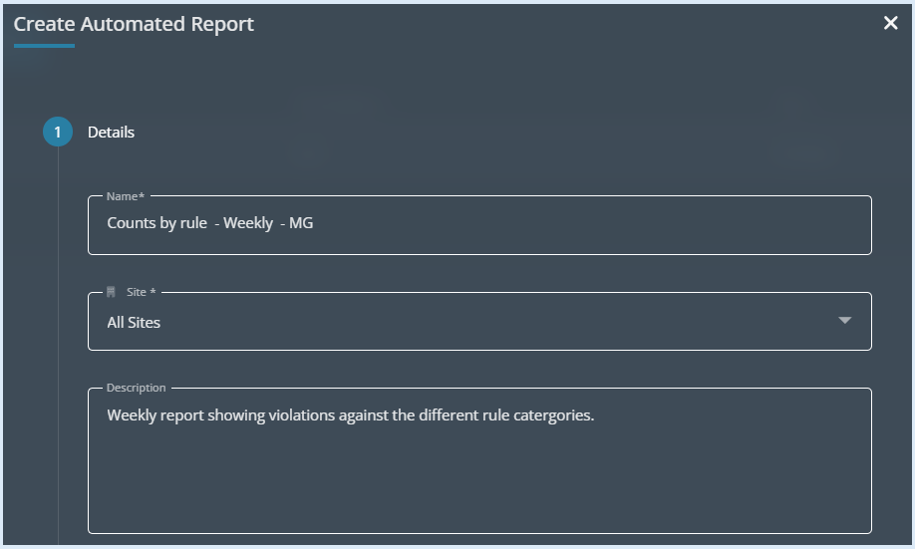
There are three fields that will need to be completed in this first section.
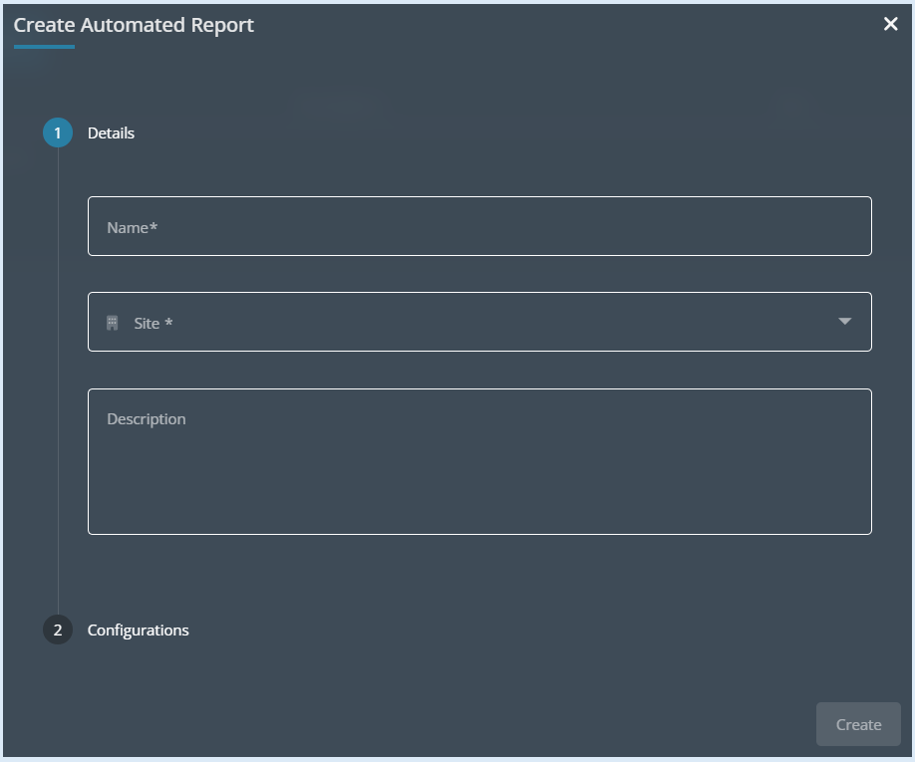
Name Field
Add in a name for this report so you will recognise it when it generates. In my example I have added the report name, how often it will be generated and my initials.
Site Field
All of the sites that you have access to will be provided in the drop-down for the field. Choose which site you wish to report on. All Sites has been selected.
Description Field
This will allow you to add in a description. This will help anyone who is using the report understand what the report is going to do.
Select the Section 2 Configuration option.
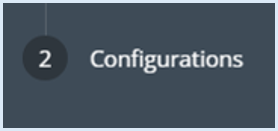
Once selected this will open the next options box to complete.
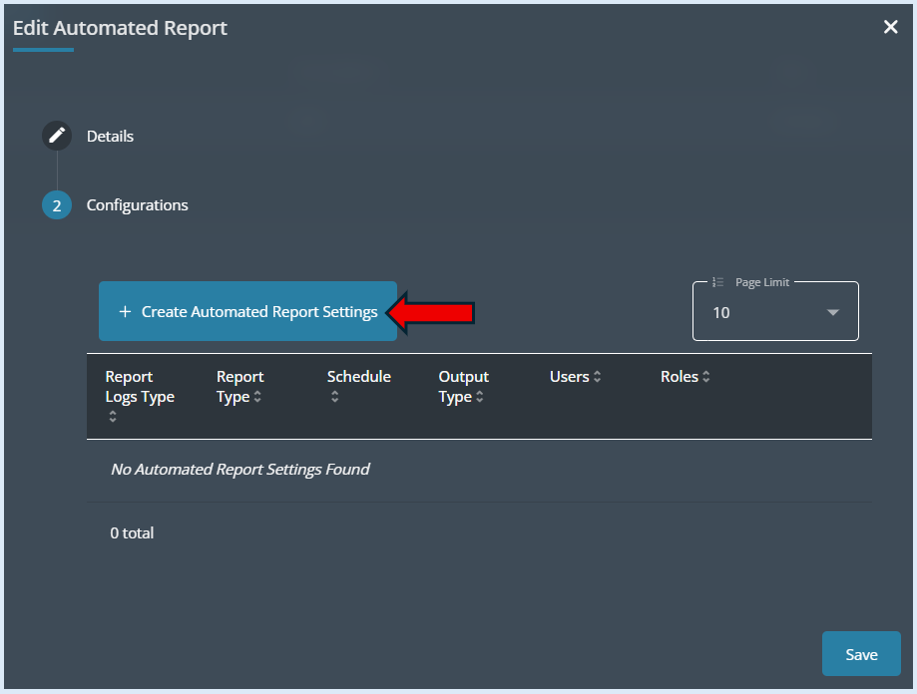
Select the ‘+ Create Automated Report Settings’ button.
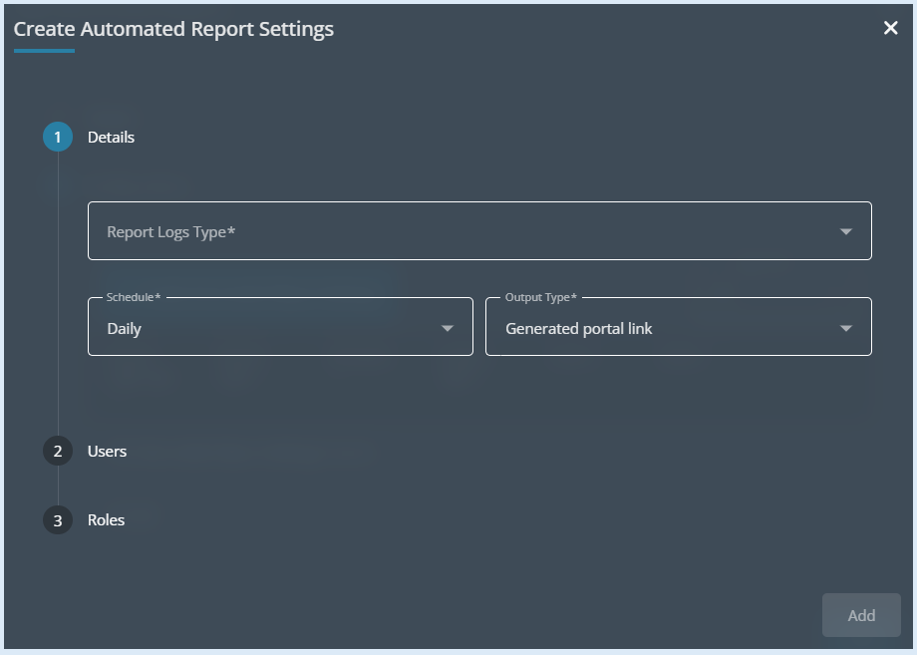
Report Logs Type
Select the drop-down arrow.
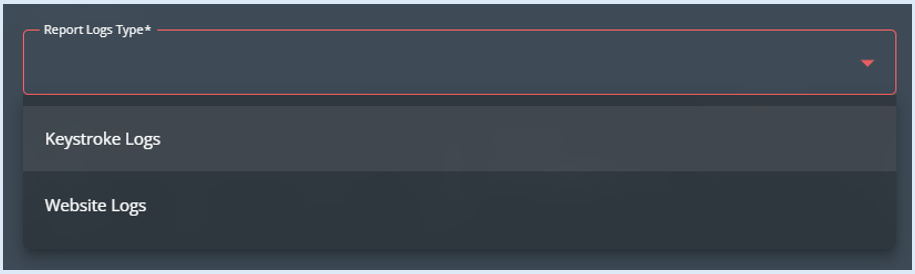
Select whether it is Keystroke or Website logs. This will determine which reports you can then select from.
Report Type Field
Select which report you wish to automate.
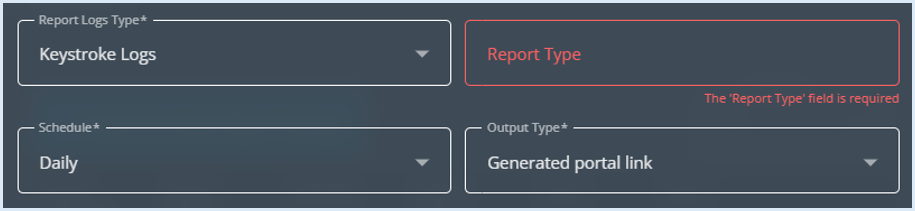
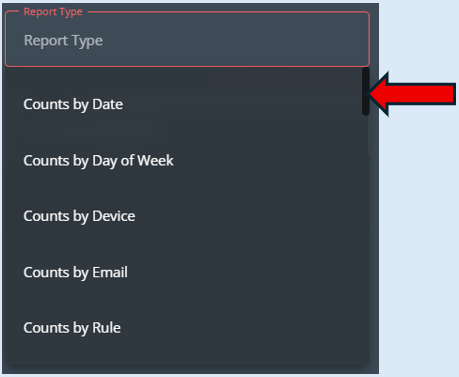
You can move the scroll bar up or down to locate the report that is required, once located click on the report.
Schedule Field
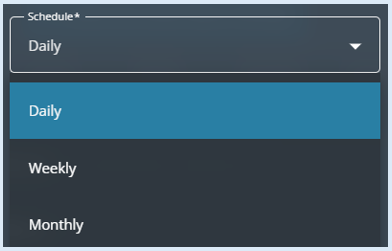
Select the frequency that the report will be generated at.
Output Type Field
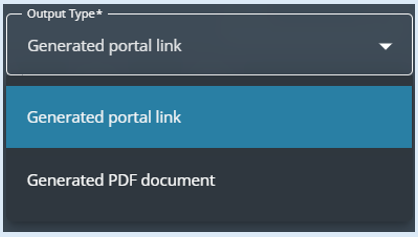
Select how you wish the report to be generated.
The ‘Generated portal link’ option will create a link in the email that when clicked on will take you to the dashboard within the Safeguarding module and you can view the report.
The ‘Generated PDF document’ option will attach the report in PDF within the email for you to open and view.
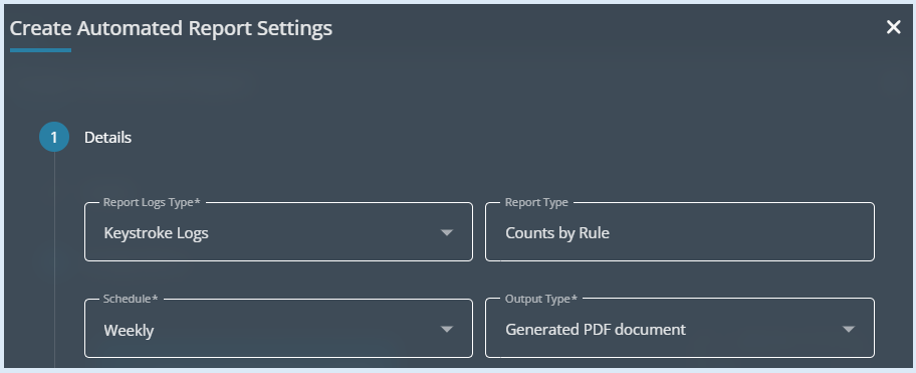
If the ‘Generated PDF document‘ option is selected an additional option will open.

You can enable or disable this option.
Next, select the ‘Users’ icon.
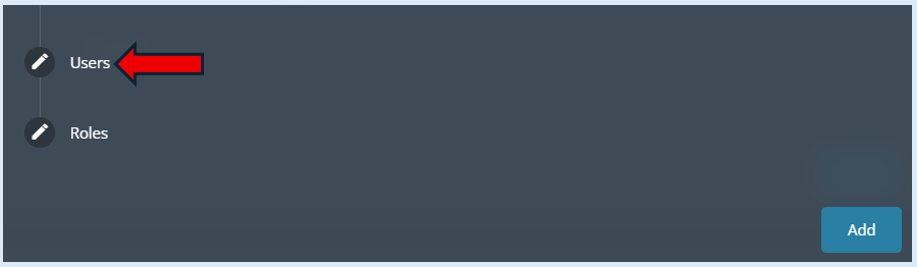
This will allow you to select which users will receive the automated report. You can select multiple users.
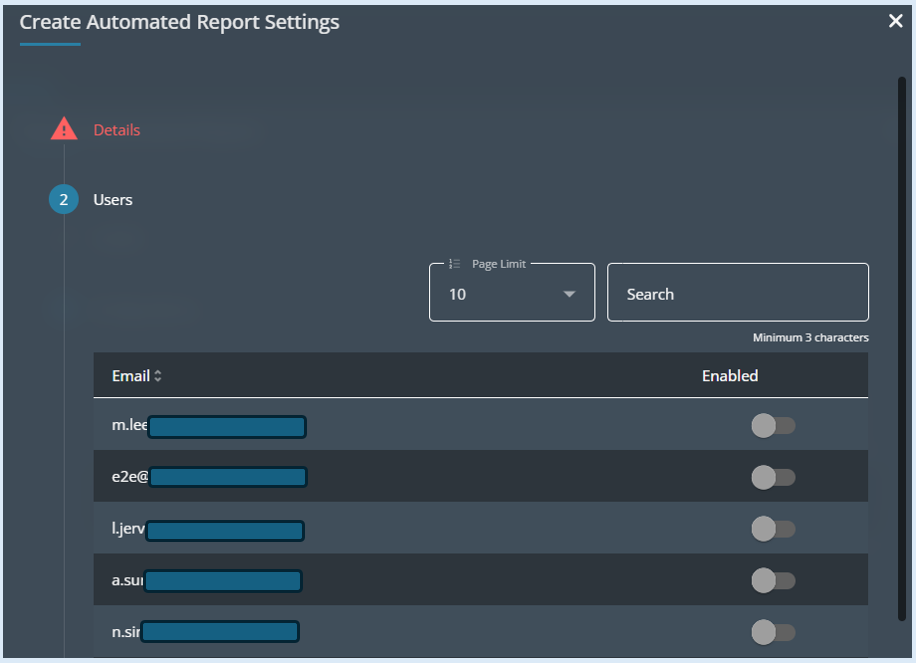

If you are looking for a specific user you can use the search option, just type in the first three letters of the users email address and it will automatically serach and filter the list accordingly.
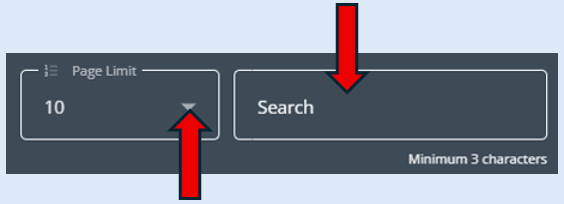
You also have the option to increase the amount of users that are visible on a page.
Next click on ‘Roles’.
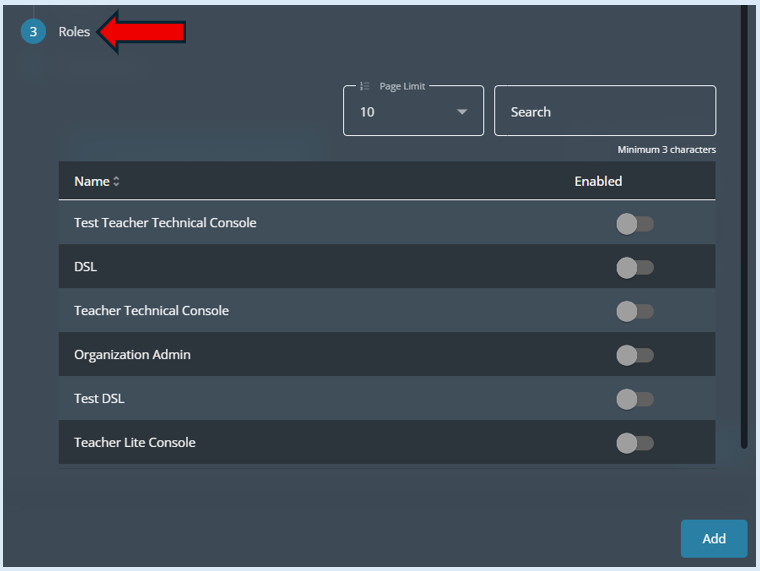
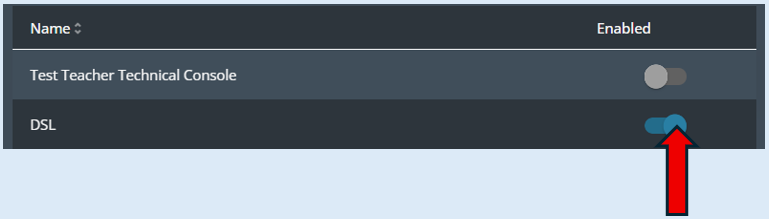
As well as being able to select users to receive the report you can assign a role, this is optional. All users in this role would receive the report. Just toggle the relevent role into the ‘On’ position.
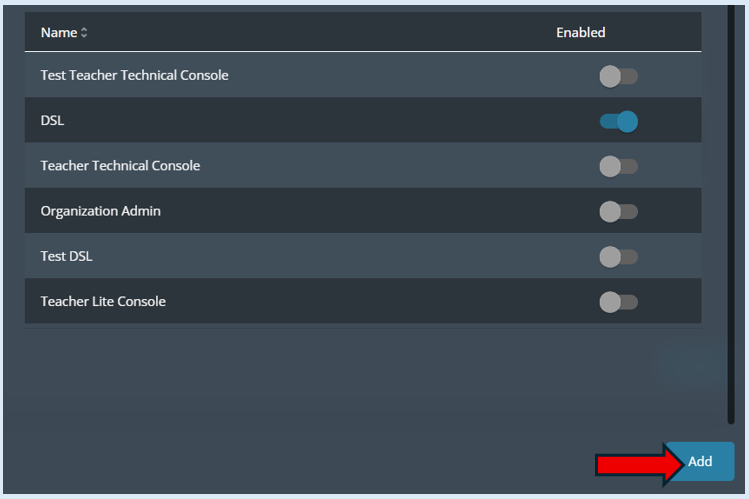
To complete the set up, click on the ‘Add’ button.
You will then see an overview of the automated report that you have set up.
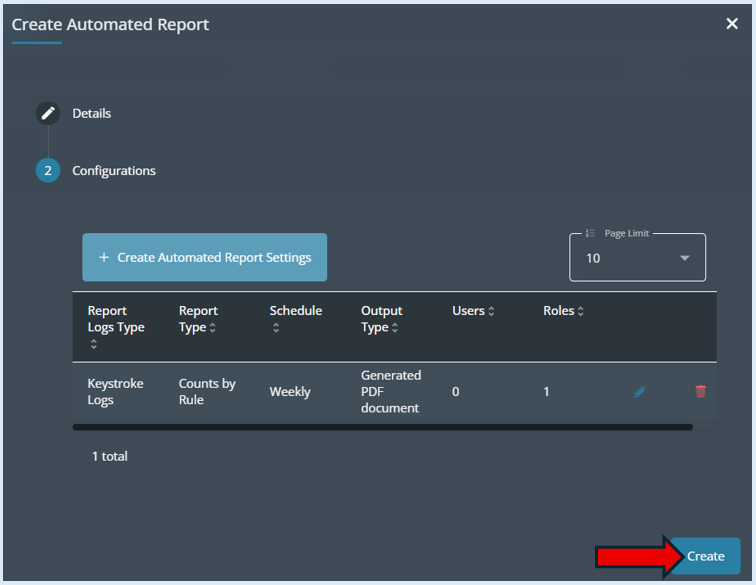
Select the ‘Create’ button.
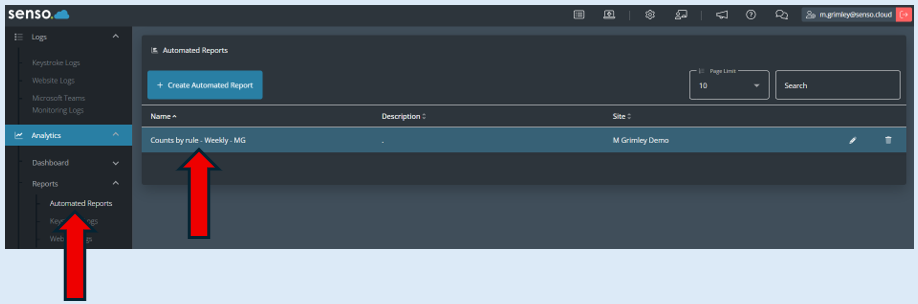
The report will now appear within the ‘Analytics’ section when you select the ‘Automated Reports’ section.