This guide will explain the steps needed to create a logging policy. It is really important that this policy is set up as it as it provides the safeguarding for the school. It tracks user activity, including applications, websites, and keyword detection, ensuring proactive intervention and a secure learning environment.
Select the ‘Admin Centre’ icon from the top navigation bar.

Then select ‘Logging’ from the ‘Admin Dashboard’ options.
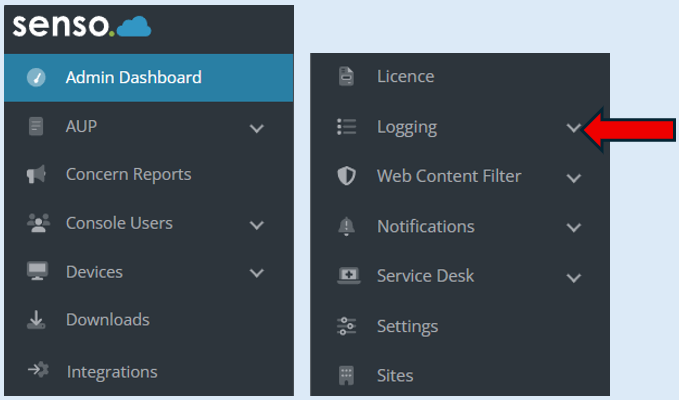
A drop-down menu will open, select ‘Policies’.
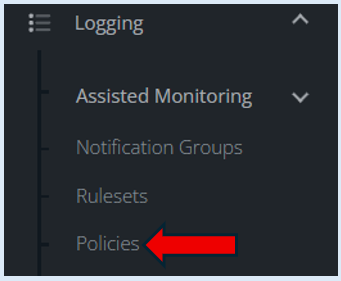
This will open the Policies page, select the ‘+ Create Policy’ button.

This will open the options page.
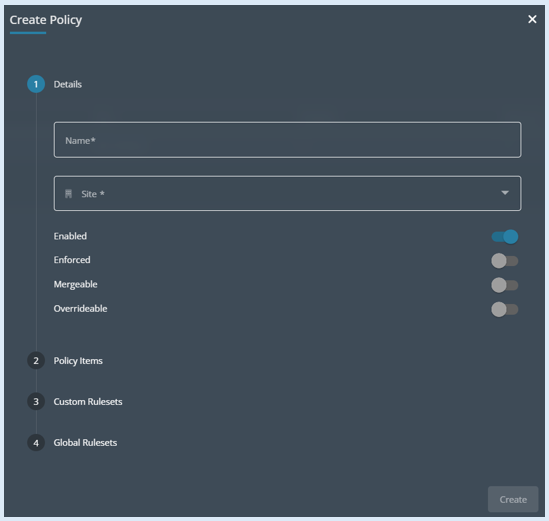
Add the name of the policy in the ‘Name’ field. For this example, we are adding in ‘Logging’ as the name.

Select the site, the drop-down option will list all of the sites available. For this example, we are selecting ‘MG Secondary’.
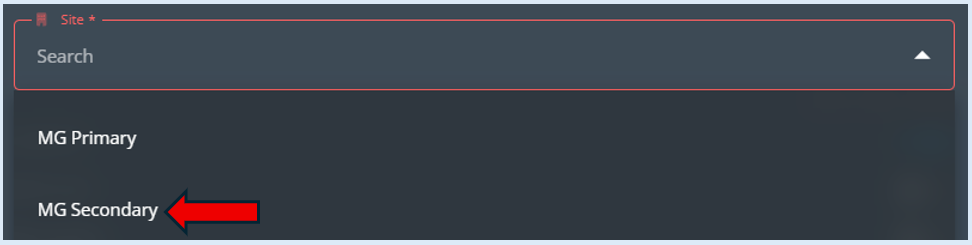
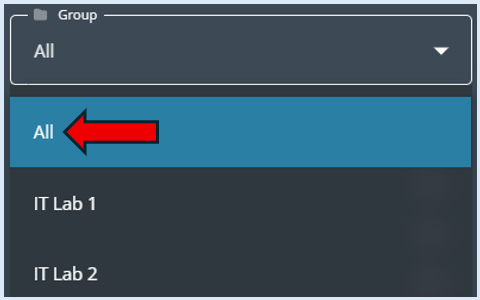
As soon as you select the site an additional field will open. This is where you can select all of the groups within this site or a specific group. For this example, we have selected ‘All’.

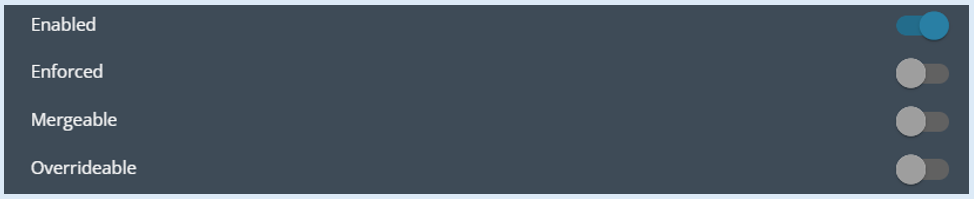
There are then four toggle options to either enable or disable.
Enabled: Determines whether the policy is active or inactive.
Enforced: Ensures that this policy overrides all other configured logging policies.
Mergeable: Allows this policy to be combined with other active logging policies.
Overridable: Permits other policies to take precedence over this one.
We recommend in the initial set up that just the ‘Enabled’ option is made active.
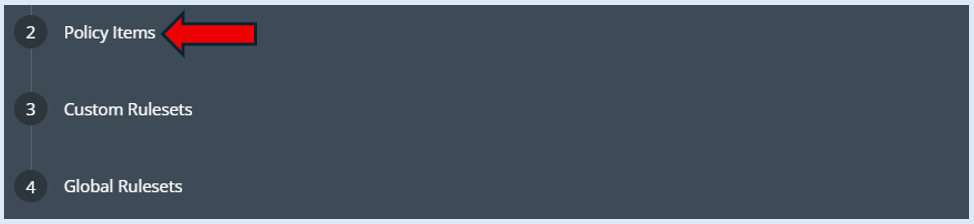
Next select ‘Policy Items’.
The options box will open.
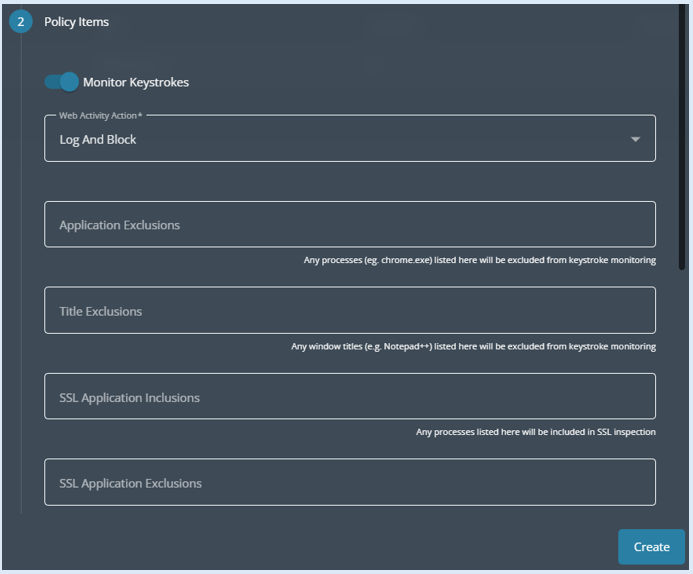
The ‘Monitor Keystrokes’ option is automatically switched on.
This enables the monitoring of keystrokes within specified applications and web activity.
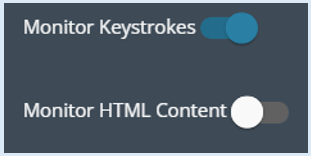
If you enable Monitor HTML content – This will allow Senso to see the HTML content of all websites that any device visits and block based on HTML content as well as the URL. Senso will inspect the text content of web pages against configured content rules.
The next field is ‘Web Activity Action’. This allows the client to monitor and log the website activity on devices.

There are four options to select from when you select the drop-down arrow.
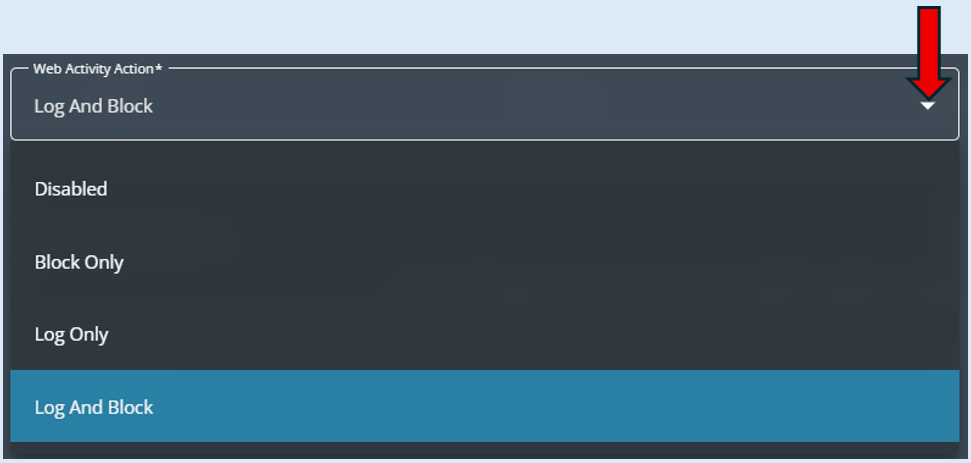
Disabled – No monitoring or logging of websites within the groups previously selected.
Block Only – Will block websites that have been added into any active Rulesets.
Log Only – Will log websites that are visited.
Log And Block – If you are just running the Safeguarding Module the block element has the capacity to block websites that are set up within active rulesets. The system provides global rulesets that can be activated. Please be aware If a user types a keyword alert that is detected through a website, that website will not automatically be blocked. This is because the Rulesets do not contain any URLs. The only websites that will be blocked are ones that have been added into your custom rulesets. This is explained further on in the guide.
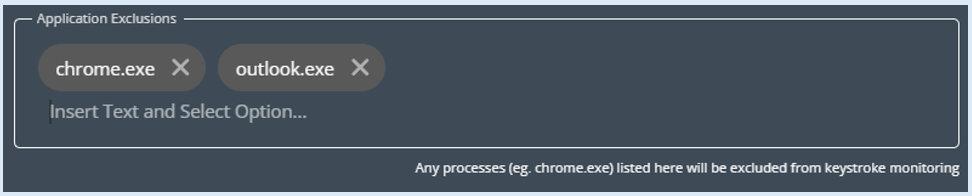
Application Exclusions - Exclude specific applications from keystroke monitoring.

Enter the process names into the field (e.g. chrome.exe or outlook.exe) of applications that should be exempt from keystroke logging. These applications will not be monitored. You need to enter the applications executable name.
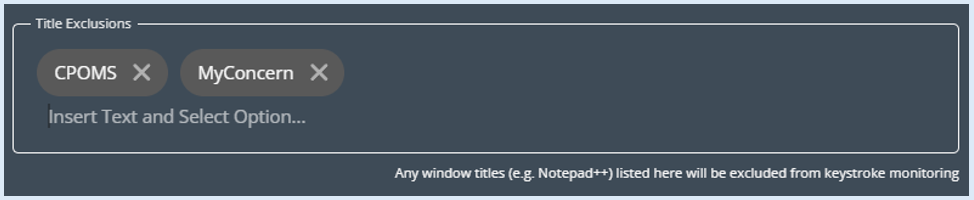
Title Exclusions - Exclude specific window titles from keystroke monitoring.

You can input window titles e.g. Notepad++ to be excluded. Keystrokes in these windows will not be logged. Other common exclusions are CPOMS or MyConcern.
SSL Application Inclusions – This will allow you to specify applications that should be included in SSL inspection. Once you have added in the process names of applications that require SSL inspection. You are telling the Senso.cloud the exact applications that it is allowed to inspect on.

SSL Application Exclusions – This will allow you to exclude specific applications from SSL inspection. Enter the names into the field. The inspection will look at all applications other than the ones you have excluded in the field.

SSL URL Exclusions – This will allow you to exclude specific URLs or IP addresses from SSL inspection. Just add these addresses into the field.

Safe Search – If this is switched on it will filter explicit content from search results by enforcing Safe Search on supported search engines and YouTube.

Filter TCP Ports – This will allow you to monitor web traffic on specific TCP ports. Add the TCP ports into the field (e.g. 443 for HTTPS, 80 for HTTP) that should be monitored. This means that any web traffic through these ports will be inspected.

Next, select ‘Custom Rulesets’.
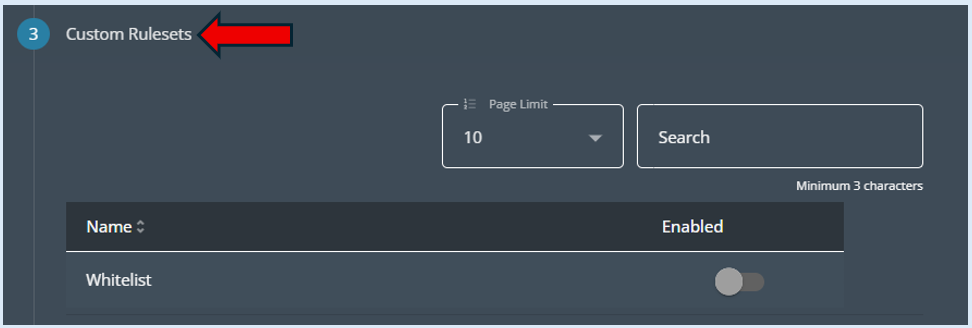
Initially when you come into this section there may be no custom rulesets that have been created. However, a custom rule set titled ‘Whitelist’ has been created, this will include URL’s that will be allowed rather than being blocked. If you wish for this to be active move the toggle button to ‘Enabled’. Overtime this list may be comprehensive, you always have the ability to enable/disable any of the rulesets.
Next, select ‘Global Rulesets’.
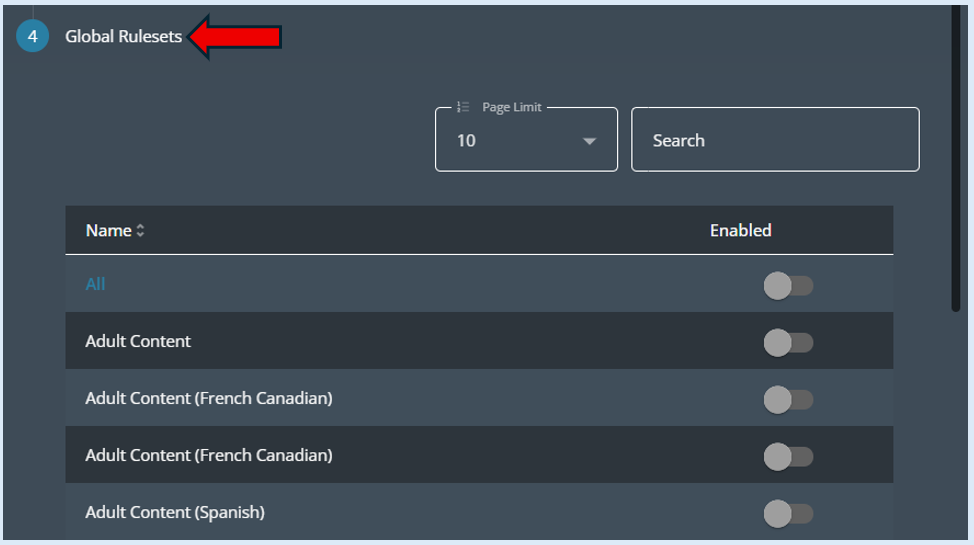
These are pre-determined rulesets (Libraries of words). We recommend that you initially select ‘All’. These are categories that are supplied by our safeguarding team, these contain pre-set keywords that can be unsafe and harmful to students.
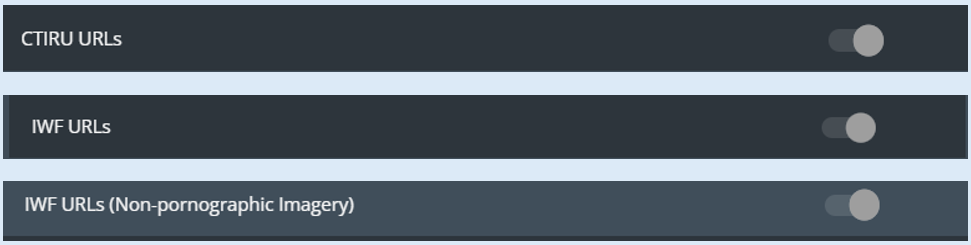
There will be x3 categories that will look like they are not selected however they are, they have just been 'greyed' out as they can not be switched off due to KCSIE (Keeping Children Safe In Education) requirements. These are -
Select ‘Save’ to create the policy.
Now on the Policies page this policy will now appear.

You do have the ability to copy, edit and delete this policy.