
This guide will explain how to create a custom ruleset that will allow you to add items into a list that will then be blocked. This guide will also show you how to activate the ‘Blocklist’ ruleset within your Logging policy.
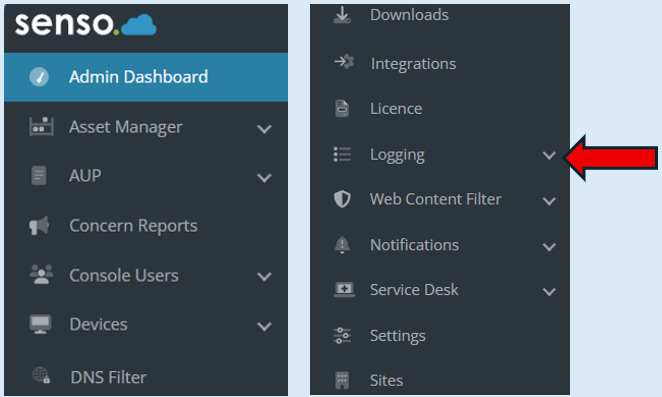
Click on ‘Admin Centre’.

From the drop-down list, select ‘Logging’.
Select ‘Rulesets’.
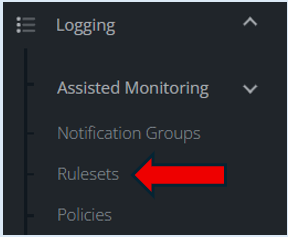
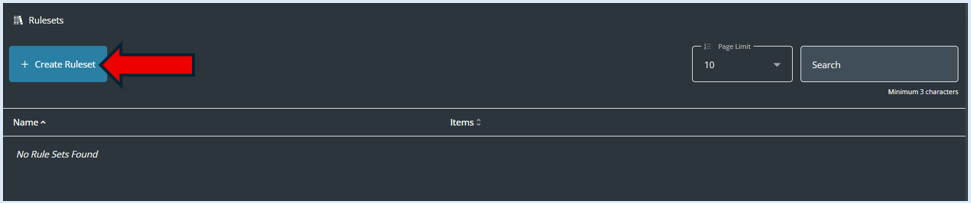
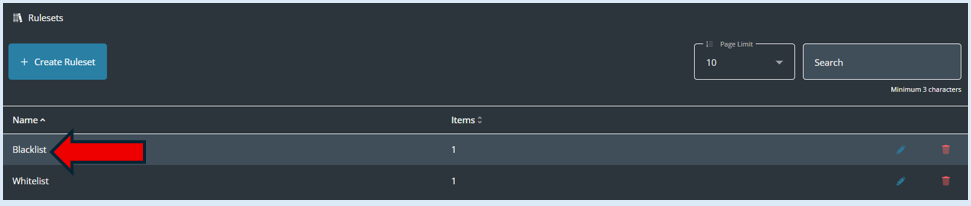
After selecting ‘Rulesets’ you may already have some Rulesets created in your environment that will show in the list. However, we would recommend that two rulesets are created if not already there. One being titled ‘Whitelist’ and another titled ‘Blocklist’. Having these two clear titles will help now and going forwards when items need to be added to either be allowed or blocked.
Add in the title for this Ruleset. For this example we are naming the Ruleset ‘Blocklist’.
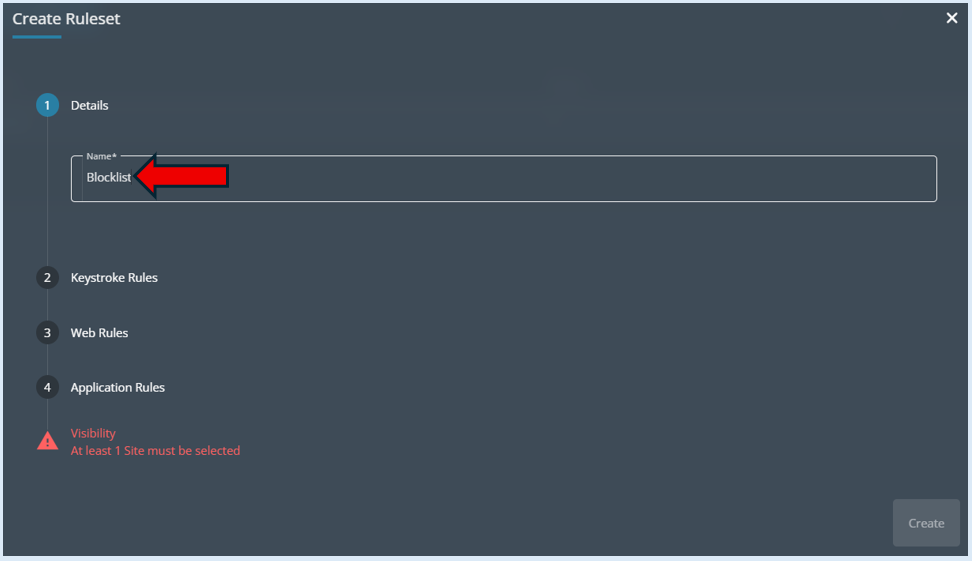
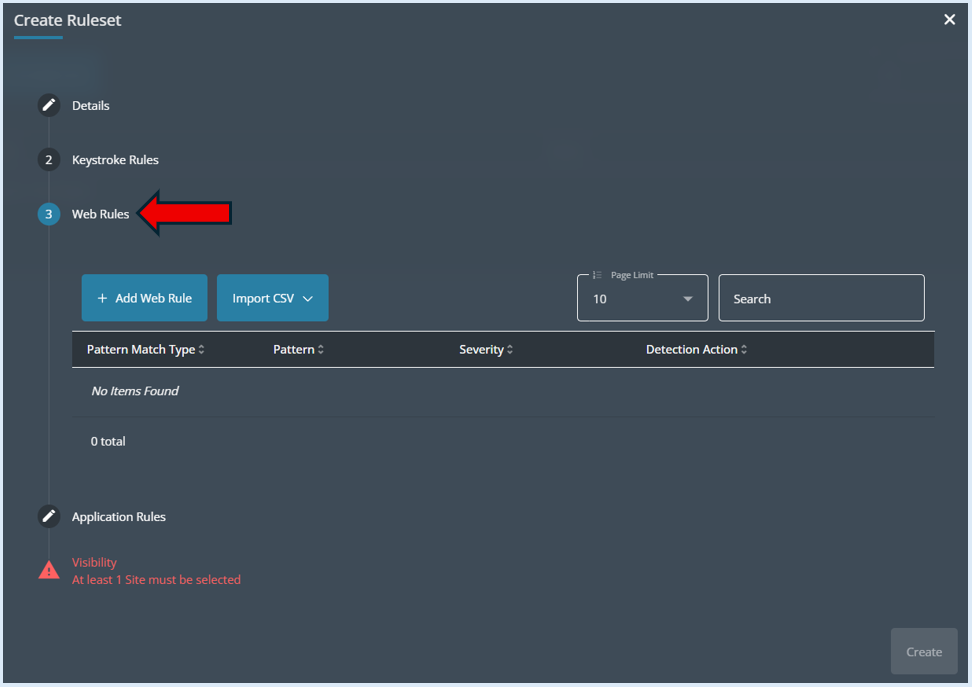
You do not need to complete either section 2 ‘Keystroke Rules’ or section 4 ‘Application rules’.
Click on section 3 ‘Web Rules’.
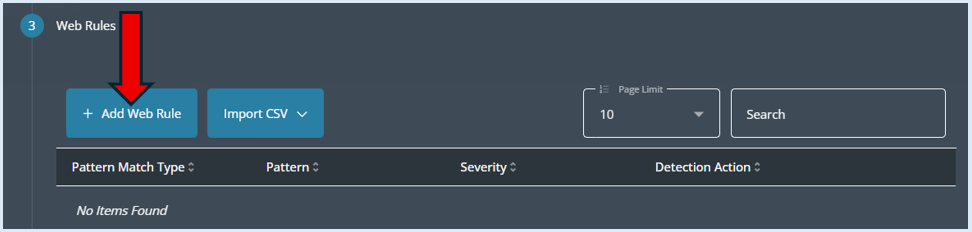
Then select the ‘+ Add Web Rule’ button.
This will open up a new options box.
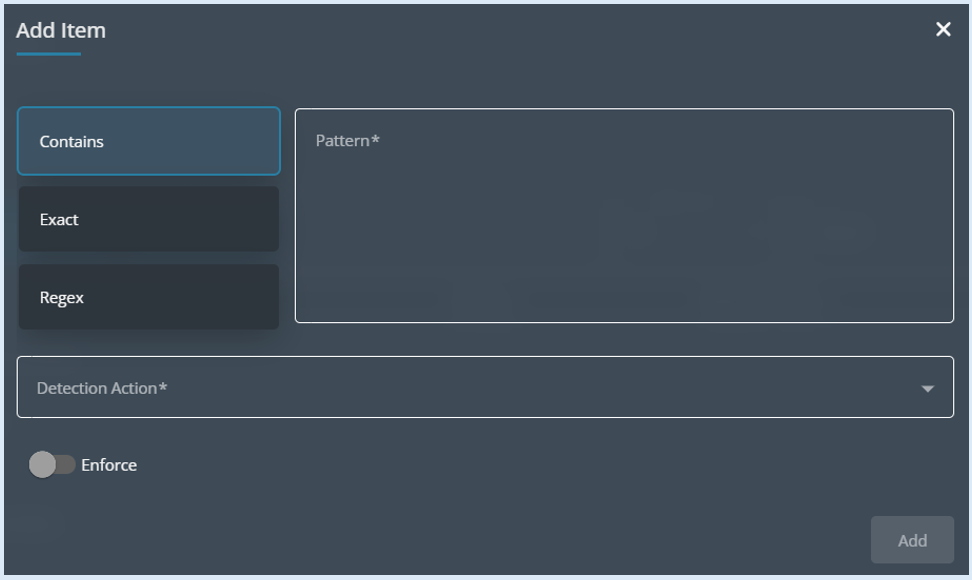
This is where items can be added into the Ruleset that will be blocked, users will not be able to access these websites.
We recommend that the items are added in via the ‘Contains’ option. This means the words that are added in, if they are part of a URL address they will be blocked. If you do have a specific website URL that needs to be blocked, then you can select the ‘Exact’ option, but it will only be that specific URL that will be blocked. For example, if you wanted to block a particular part of a website – Block BBC I player but allow BBC News you would add in www.bbc.co.uk/iplayer and it would be that exact URL that is blocked.
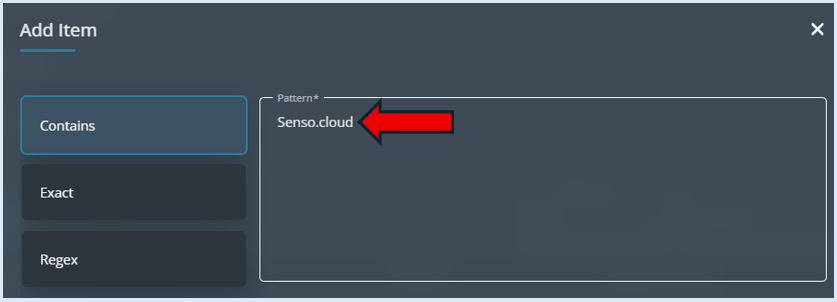
For this example, ‘senso.cloud’ has been typed in. Any URL that contains these words will be blocked.
Then select the ‘Detection Action’. This will be set to ‘Block’.
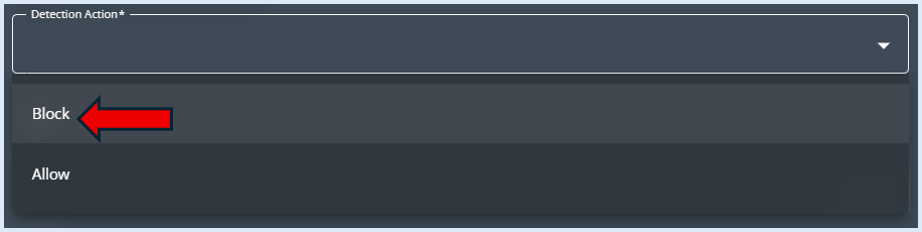
Once ‘Block’ has been selected an additional option will open titled ‘Severity’.

This does not need to be changed.
There is an option called ‘Enforce’. This is asking does this rule supersede other custom rules that have been set up. This will only need selecting if you are looking to block part of a website, where the website has already been allowed by another custom ruleset. For example, www.bbc.co.uk is in the allowed list but you have added a specific part of that website to be blocked www.bbc.co.uk/iplayer.
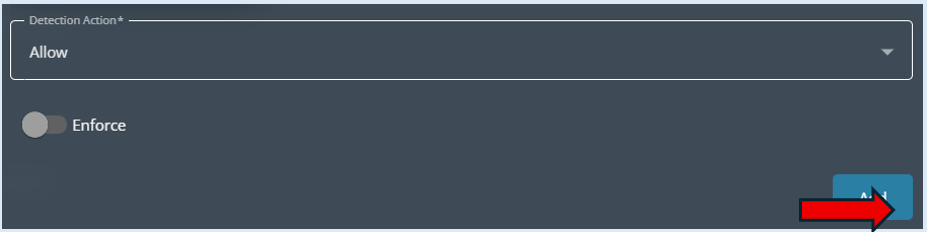
Finally, Select ‘Add’.
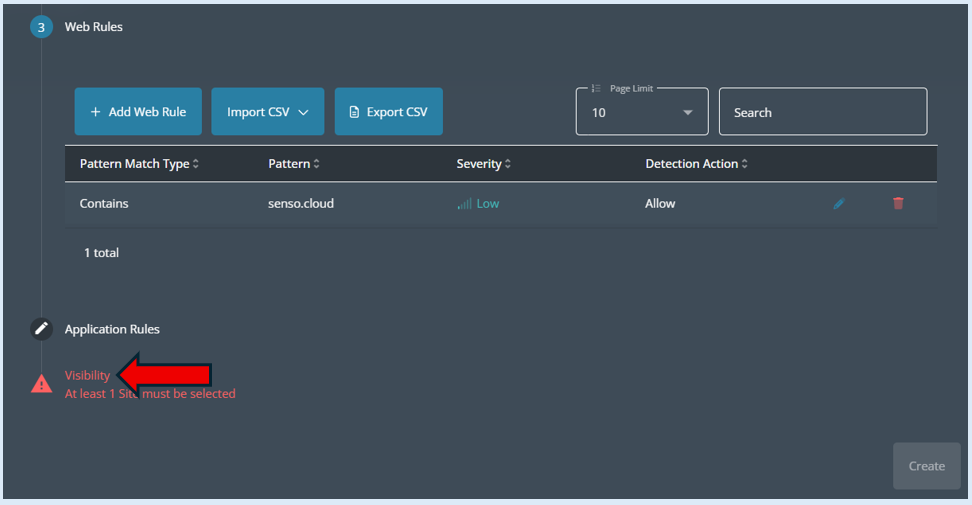
This item will now show in the ‘Web Rules’ section.

You can repeat this process to add additional items that you wish to block.
Next select ‘Visibility’.
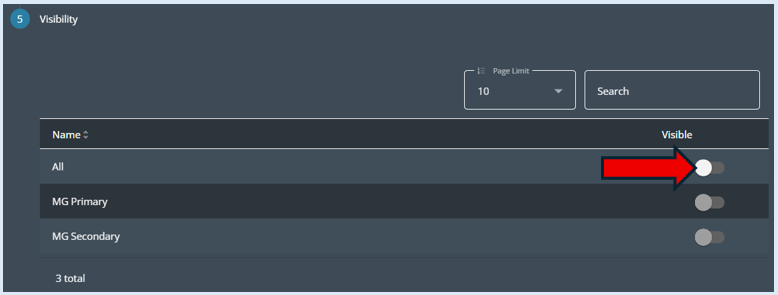
Select which sites from the available list you would like to apply this ruleset against by enabling the toggle switch. For this example I want the ruleset to apply to both schools available in the list so select ‘All’.
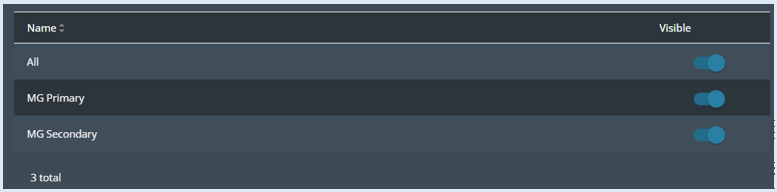
The final option is to select ‘Create’.
This Ruleset will now appear on the Rulesets page.
With the Ruleset now created, you will need to integrate this into a policy. Please note this only needs to be done on the first occasion as it is a brand-new Ruleset.
Adding the Custom Ruleset to the Logging Policy
Within the ‘Logging’ section, select policies.
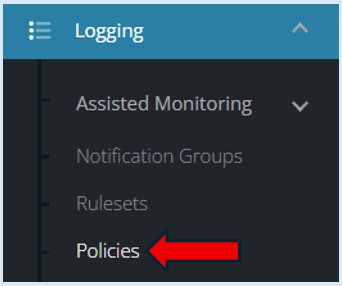
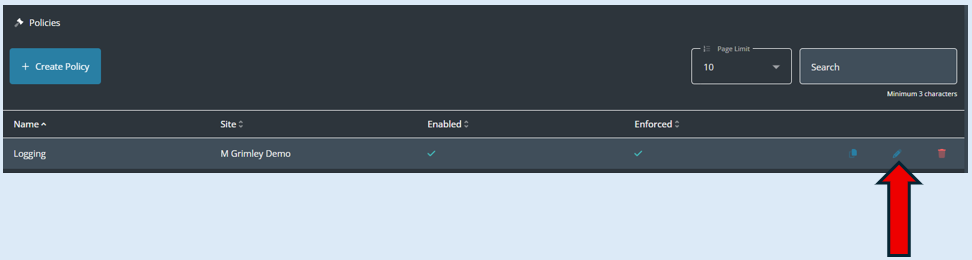
Once the page opens you may have multiple policies created however the policy you need to locate will be called ‘Logging’. Select the ‘Edit’ icon. Please note that when senso.cloud is installed we recommend that a policy is set up called ‘Logging’, this will manage your Web Content Filter.
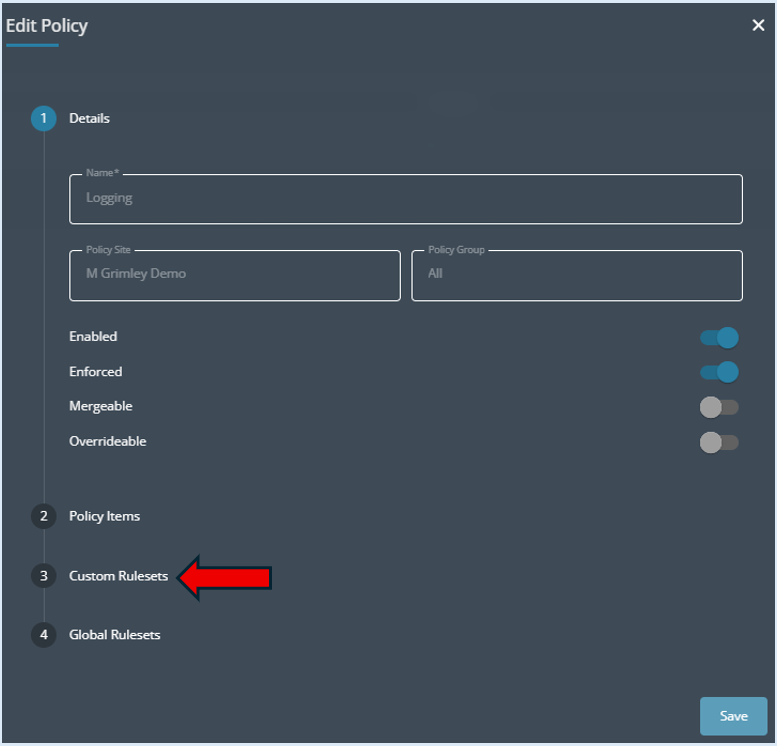
Select ‘Custom Rulesets’.
Locate the Custom Ruleset which has just been created. For this example, it was titled ‘Blocklist’. Please note you may already have several items in your list.
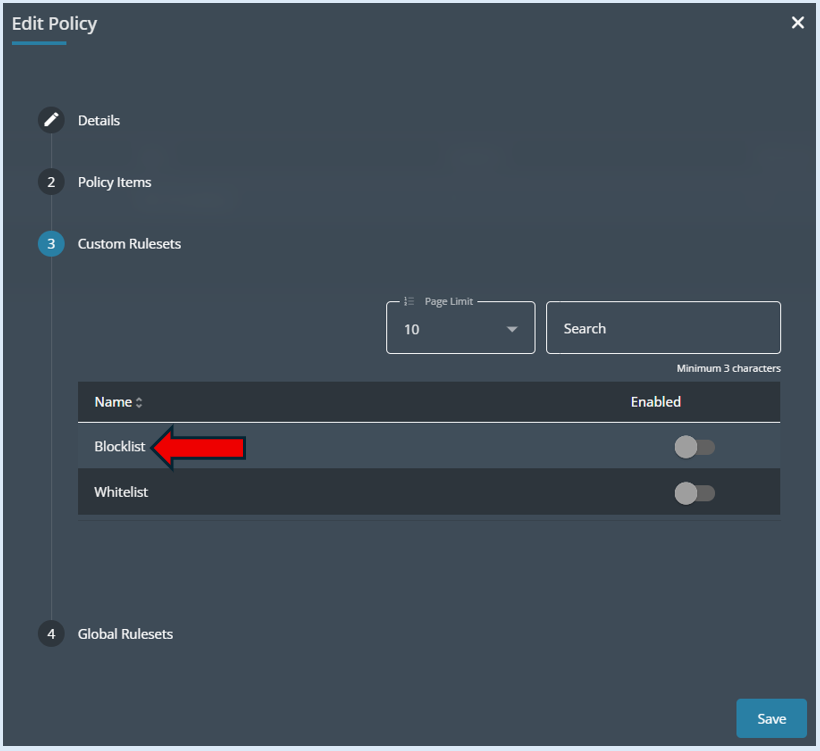
Switch the ‘Enabled’ button into the ‘On’ position.

Select ‘Save’.
The ruleset that was created titled ‘Blocklist’ is now active.
Please note – If you add additional items into your Custom Ruleset, you will not need to add the ruleset to the policy again as it only needs to be done once when initially created.